
DOWNLOAD THE APP


Customer Services
Copyright © 2025 Desertcart Holdings Limited
DOWNLOAD THE APP


❄️ Cool your rig, light your style — the ultimate ARGB liquid cooler experience!
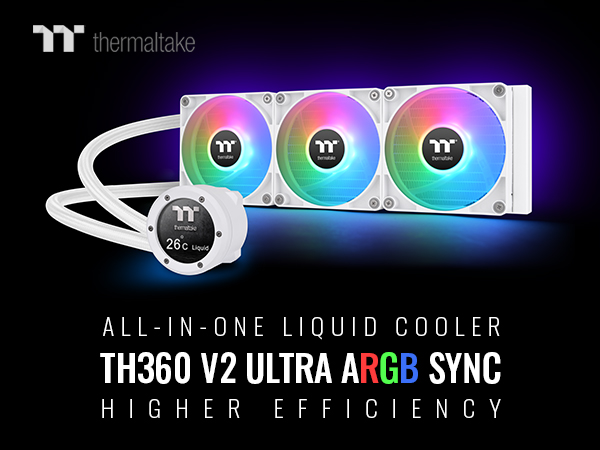
The Thermaltake TH360 V2 Ultra ARGB is a high-performance 360mm all-in-one liquid cooler featuring three PWM-controlled ARGB fans, a 2.1-inch 480x480 LCD display for customizable visuals, and a thick copper water block for superior heat conductivity. Compatible with a wide range of Intel and AMD sockets, it supports major motherboard RGB software for seamless lighting synchronization, making it perfect for professional-grade, visually stunning PC builds.


| Brand | Thermaltake |
| Product Dimensions | 25.4 x 5.08 x 6.86 cm; 2.49 kg |
| Item model number | CLW405PL12SWA |
| Manufacturer | Thermaltake |
| Color | White |
| Voltage | 5 Volts |
| Wattage | 3.84 watts |
| Item Weight | 2.49 Kilograms |
Trustpilot
2 weeks ago
3 days ago
3 weeks ago
2 days ago