
DOWNLOAD THE APP


Customer Services
Copyright © 2025 Desertcart Holdings Limited
DOWNLOAD THE APP
🚪 Secure your space in style—because safety should never cramp your chic.
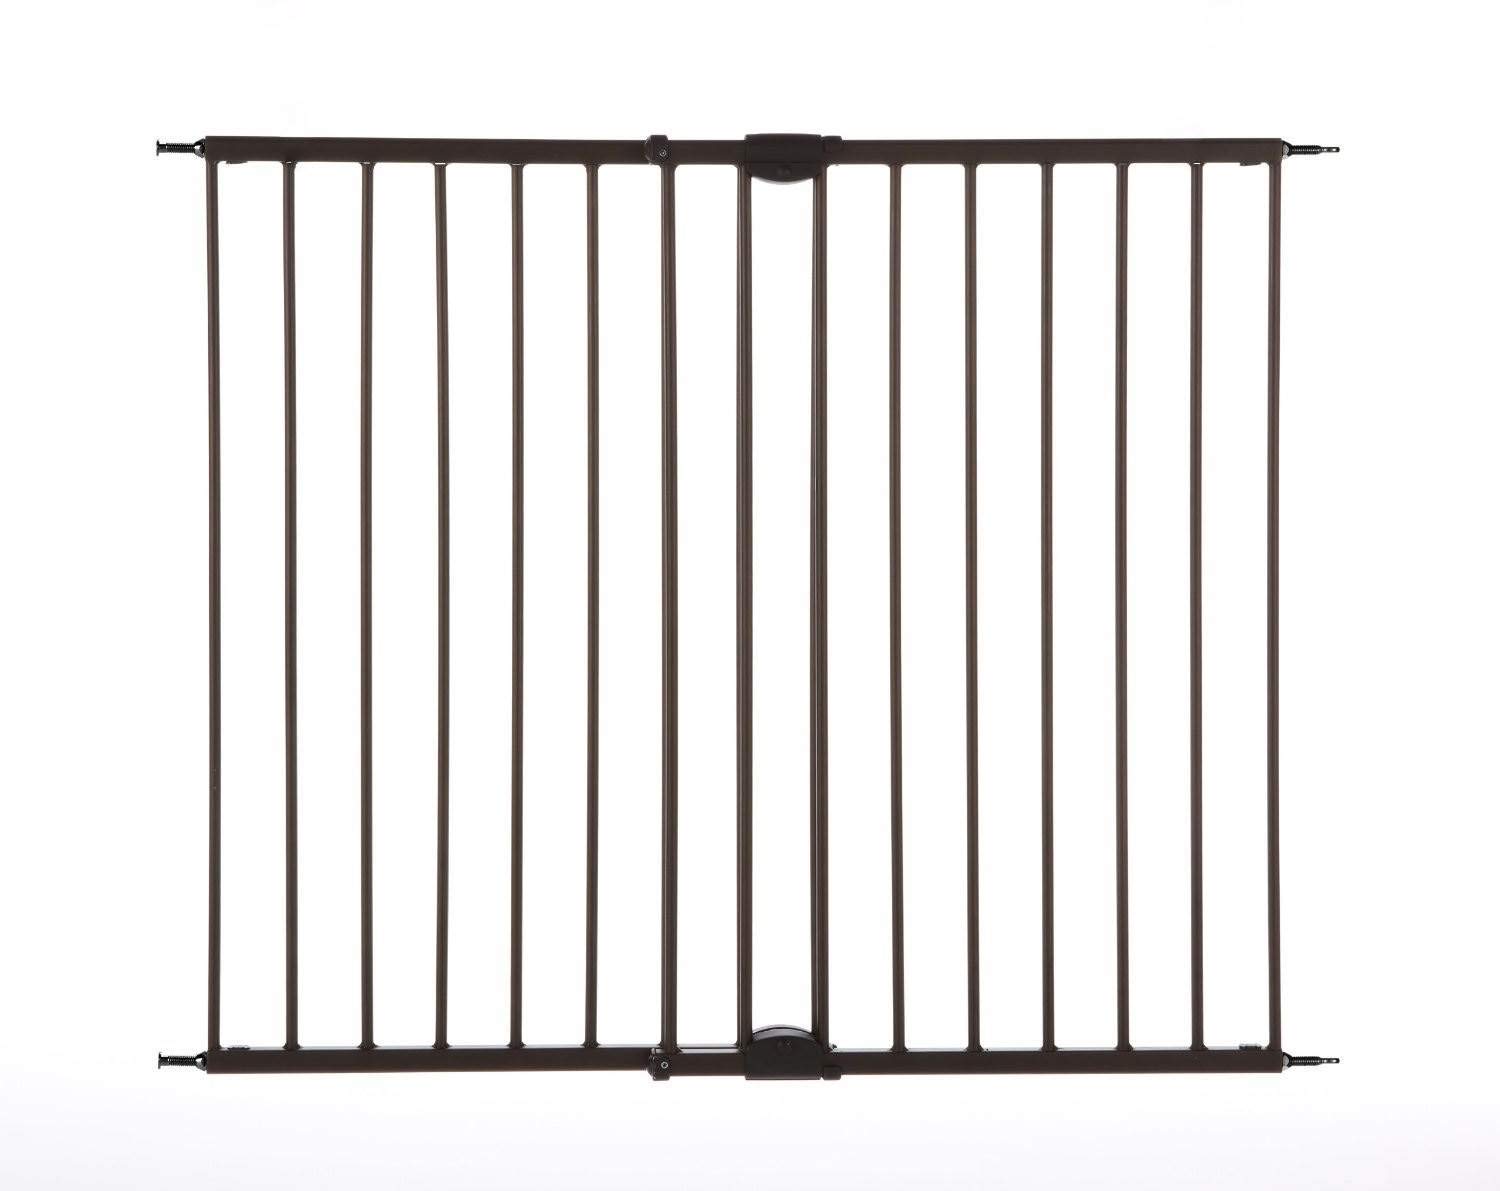
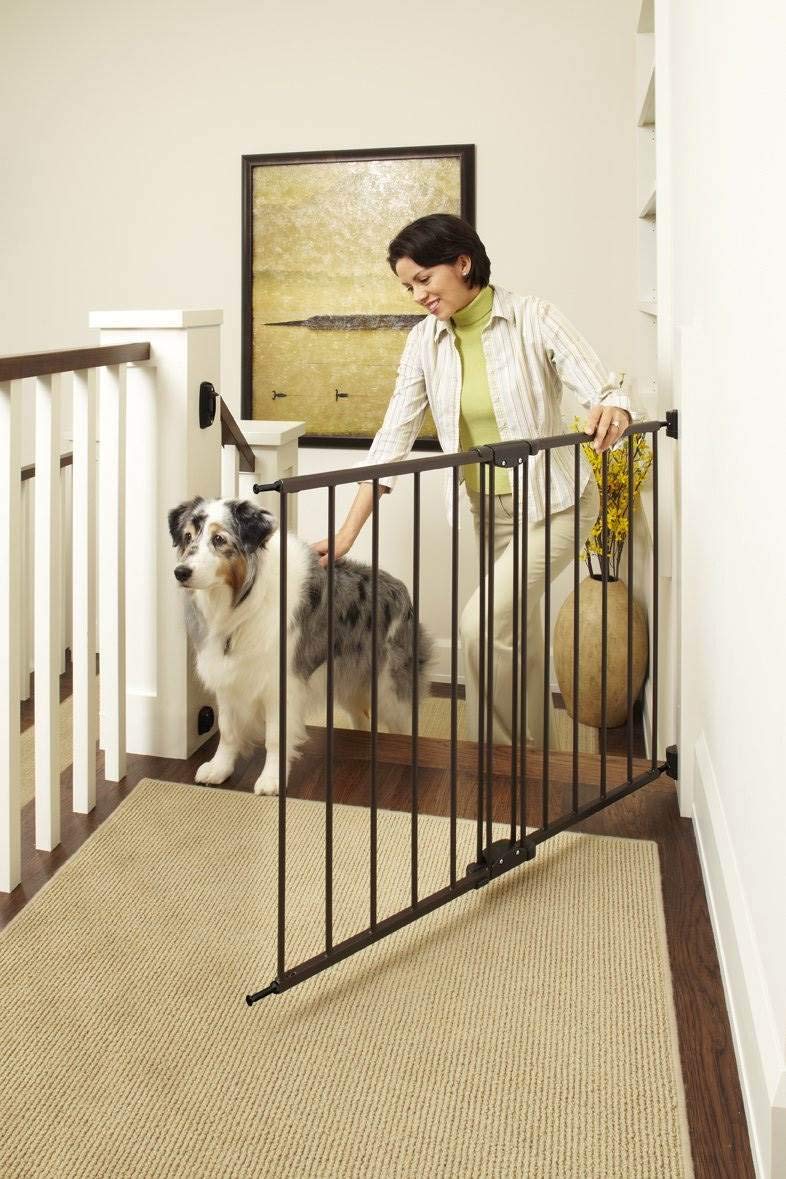
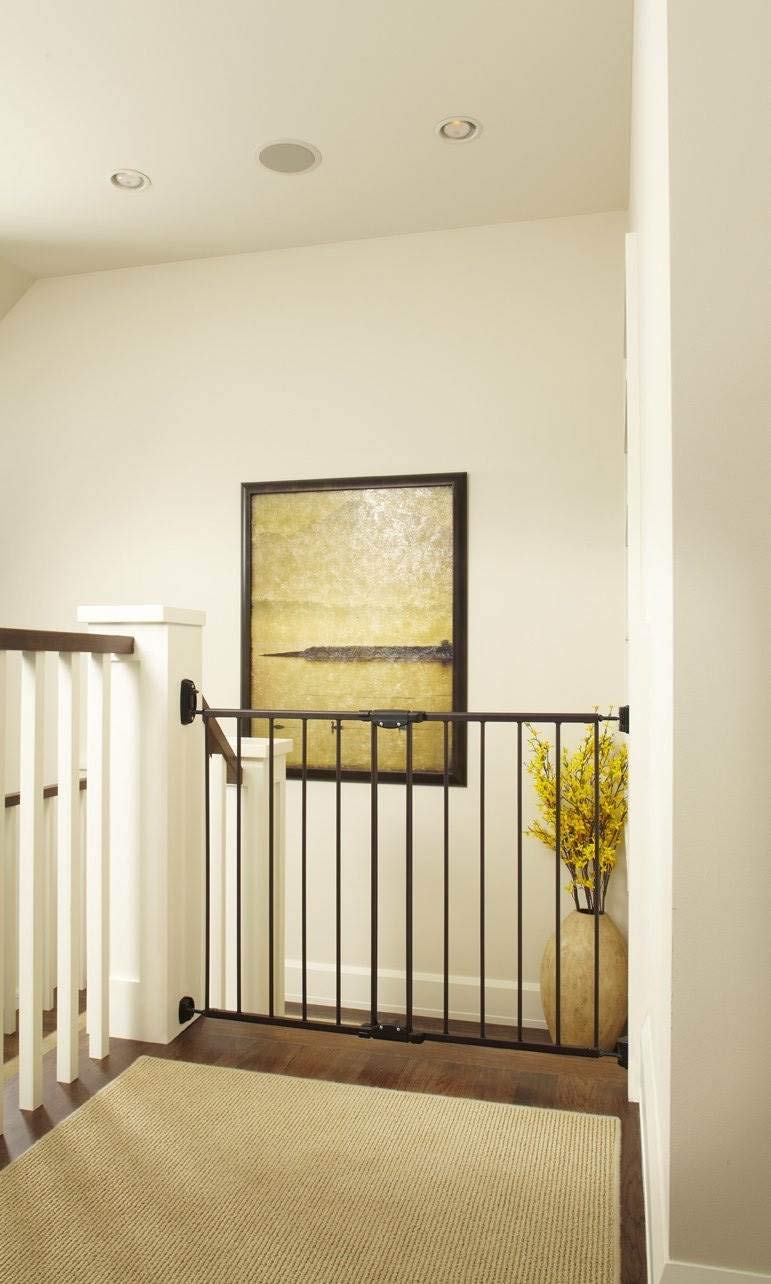
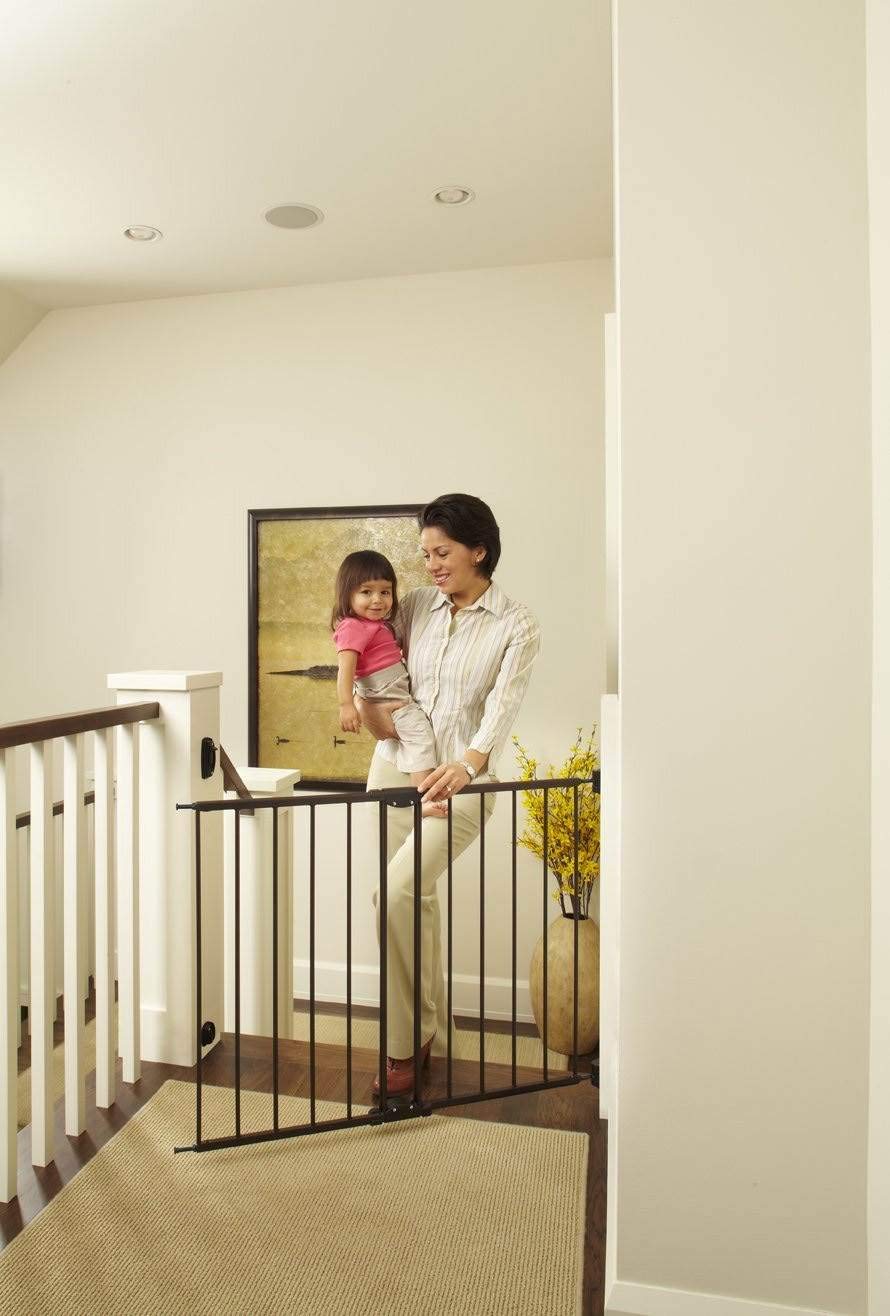
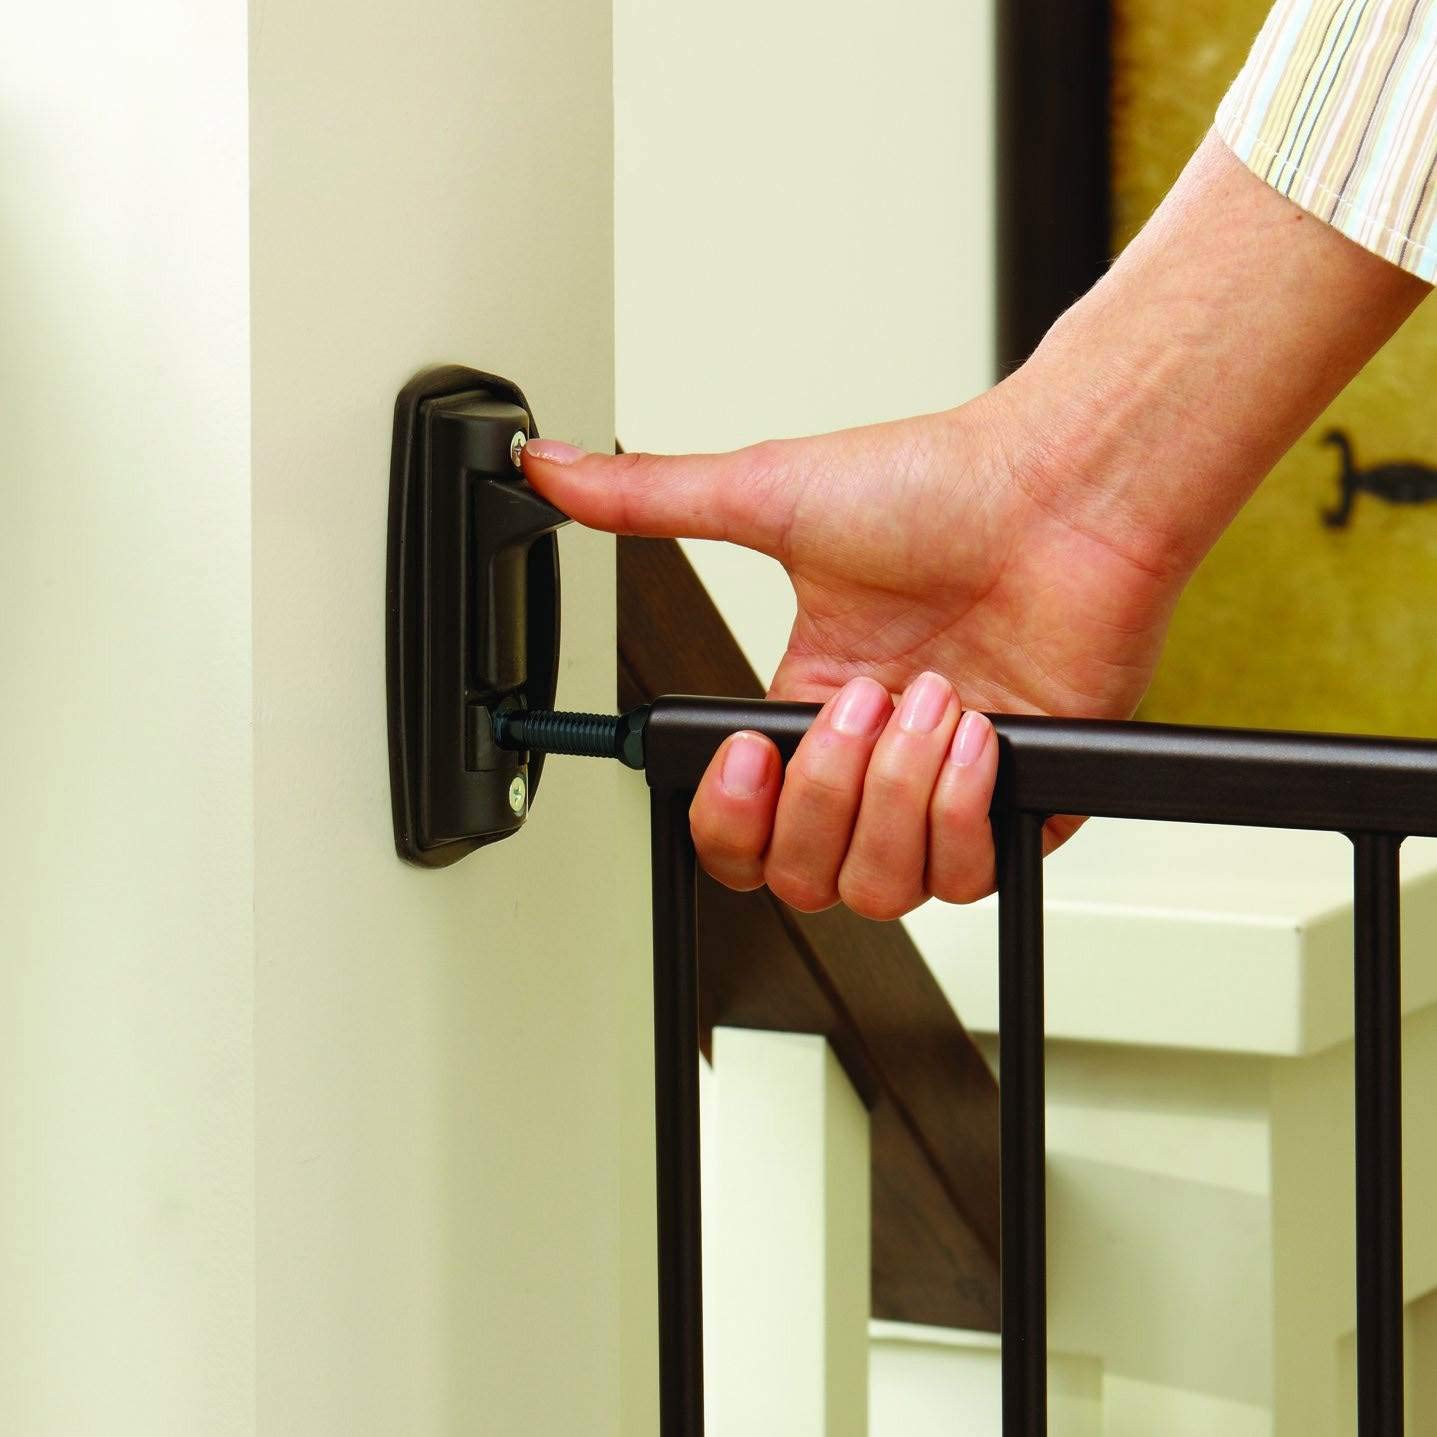
The Toddleroo by North States Easy Swing & Lock Baby Gate is a hardware-mounted safety solution designed for openings 28.68" to 47.85" wide and 31" tall. Crafted from durable alloy steel with a matte bronze finish, it features a one-hand swing and lock mechanism, vertical bars spaced 2 3/4" apart to prevent climbing, and a no-threshold design to eliminate tripping hazards. Certified by JPMA and ASTM, this gate combines robust safety with sleek aesthetics, ideal for millennial parents seeking dependable protection without compromising home style.
| ASIN | B005JN6304 |
| Age range (description) | Baby |
| Batteries required | No |
| Customer Reviews | 4.4 4.4 out of 5 stars (13,318) |
| Date First Available | 17 April 2012 |
| Global Trade Identification Number | 00026107049506 |
| Item Weight | 4.21 kg |
| Item model number | 4950 |
| Manufacturer | North States Industries |
| Material Type | Alloy Steel, Metal |
| Maximum Height Recommendation | 31 Inches |
| Model Number | 4950 |
| Mounting type | Hardware Mount |
| Number of items | 1 |
| Product Dimensions | 77.47 x 5.08 x 73.66 cm; 4.21 kg |
| UPC | 026107049506 |
M**Y
Ok
Ok
G**R
Tall height and adjustable width. My toddler has tried shaking gate open , climbing, squeezing through and has even tried to figure out how to open latches unsuccessfully . Light weight gate easy to close and shut but difficult for toddler . I bought 2 of these gates. Installation does take time and requires planning to attach hinges safely to framing wall structures. Template provided is helpful and hinges assembly is a little tricky. Review of install instructions is a must for safe and proper sturdy installation. Flexible strong light weight gate. Swings open wide to length of gate.
S**M
I purchased two North States 47.85" Easy Swing & Lock Baby Gates. Both are being used as pet gates but could also end up being used as baby/toddler gates for the grandchildren when they visit. These were relatively easy to install. It will help to have some DIY experience. You will need at least a drill and Phillips screwdriver. A 2 foot level will help to make sure the hinges and latches are plumb (vertically aligned). The directions are easy to follow and it comes with a template to tape to the wall so you can drill your holes in the correct locations. All required hardware was included. You just need a few tools and some common sense. I mounted one gate in a doorway that had no molding and another hallway that did have 3/4 inch wide moldings. Yes, you can mount this if you have floor moldings. And yes, it does fit the width specified in the description. My one door opening was 47 1/4 inch wide. Please ignore the comments that say otherwise. Either these people are too incompetent to install such an easy gate or are just lying to post a bad rating. For the record, I did read the directions but I did not follow them or use the templates. So these really are not difficult to install. I mounted a lower hinge first and then hung the gate with the end propped on a small drill box I had for balance. I then placed the second upper hinge with the top gate hinge attached and marked my drill holes using one of the wood screws attached. I then removed the gate and drilled a hole where the mark was. FOR SAFETY OF YOUR CHILD AND PET, YOU MUST DRILL INTO AND SCREW INTO SOLID WOOD; NOT JUST DRYWALL! In my one doorway, I have 1/2 inch drywall but behind that are 2x4 studs. I chose to replace the 1.5 inch wood screws with 2.5 inch drywall screws to get more depth into solid wood. I chose drywall screws because they had a similar color to the bronze screws to match the gate color. Oh, by the way, the bronze is a lot closer to black than bronze. But they look great. I like the look much more than white. Kind of classy looking. They are very well built also, Very sturdy when installed correctly. Again ignore the comments from people who clearly have no clue how to install something this simple to install. Some people just need to hire a handyman or professional. Don't risk your child or pet's life if you have no clue what you are doing. And don't leave dumb reviews that are inaccurate. Anyway, back to the installation tips. Once the hinges are installed, I moved to the upper latch. Like with the hinges, I placed the upper latch in position connected to the metal stud that screws into the gate horizontally. Find the correct position and mark the two holes with a screw or awl. Then drill your holes and screw the screws into the latch. Do the same for the lower latch and you are done. Installation in my hallway was a little trickier for several reasons. Because of a bathroom door, I need to install the second gate in the middle of our hallway. I had to find a verticle stud using a stud finder so that the gate hinges were installed into solid wood. Again I used 2.5 inch drywall screws. You may be able to find bronze or black wood screws online. The big orange box and blue box stores did not have any in stock. Drywall screws are a little more brittle than wood screws but should be fine in this installation. Be careful not to strip the screw head off the shank if you use an electric/battery drill to drive your screws. Of course on the opposite side of the wall, there is no stud in the right location. So I chose to use nylon EZ Ancor (not a type) Drywall Anchors. These are a step up from your typical plastic anchors that people use to hang pictures. ...not a good choice in this type of installation. I am hoping my dog will not force the gate in any way. If she does, I will have to install a wood batten strip attached to two studs to support the latches. So far, so good. She is not trying to jump on the gates at all. She does tend to jump on people. Hey, it's a new rescue dog; I have to train her. :-) The gate is entirely metal. The hinges and latches are made of a high grade plastic material. The plastic hinges will wear fine. As others have noted, I also have some concern with the latches. They should last for a while. It is important to make sure both latches are vertically aligned so that both grasp the horizontal metal studs at the top and bottom of the gate when you close the gate. You will need to close the gate firmly with a good swing to get them to close and lock properly. IF you try to pull the gate closed gently, they likely will not engage completely. I like that we can swing the gates in either direction. I also found the spring inside two of the latches were quite firm and would not let the stud engage the latch completely. But after swinging the gate closed several times forcibly, the latches engaged every time reliably. But you should always check for safety reasons that they are fully engaged. IF YOU ARE INSTALLING THIS GATE OR ANY GATE AT THE TOP OF STAIRS, PLEASE INSTALL THE STAIR GUARD SO THAT THE GATE DOES NOT OPEN OVER THE STAIRS. AGAIN, THAT IS TO PREVENT YOUR TODDLER FROM INADVERTENTLY OPENING THE GATE AND TUMBLING DOWN THE STAIRS. A gate is not a replacement for parental supervision. After using these gates for several days, my wife and I are very pleased with the function and looks of these gates. We have also had several guests who have noted how they look so nice and how easy they are to open and close. I think you will be very happy if you purchase this gate. My only complaint, I wish the company had a taller version for the 47 inch wide opening. These are about 29 inches tall and add a couple inches based on where I attached the hinges and latches. Remember if you have a baby or toddler, be careful not to leave too much space at the bottom for the child to slide under or get stuck under the gate.
A**.
عملي وسهل الاستخدام و جودة عاليه و ارخص من السوق
C**O
me encanta, facil instalación mientras sigas las indicaciones del instructivo, suuuñer fácil de usar y excelente función!!! la volveria a comprar jejej buena! (
J**N
Edit (11/14/21): upgraded the rating to 5 stars. I have three of these gates in our house, and my son has out a beating on these gates daily for over a year, and these gates have held up in every respect. See the concerns I had initially, and confirm here that those concerns didn’t manifest. Great gate! This review is four purposes. First, to forewarn buyers that the plastic lock-in hinges could wear out or break with normal wear and tear. Second, to offer another easy method for installing this gate, since so many have complained about various challenges with installing, which I totally did not experience the way I put our gate up. Third, I saw some customer pictures of the hinges coming out of the wall. I'm addressing that below too. Lastly, in the final paragraph, I provide a general review of the gate as a whole. First, as stated above, all hinges are made of plastic. The hinges that the gate swivels off the wall from seem like they would hold up fine. On the other hand, the lock-in hinges look and feel like they are going to break at some point... seems inevitable given how often one is going to open and close the gate. Having searched extensively various gates, most have issues with the lock-in pieces... it is the nature of the design for these one-handed operation gates. I think the best preventative measure you can take is to not wrench on the gate hard to open and shut it. There is a metal bolts that slides over small plastic pieces to lock the gate in, and I don't see how that plastic is not going to wear down over time. As a result, I'm predicting the pieces will wear to the point of not locking properly, or becoming cracked, brittle, or out right breaking, which would render the gate useless. That said, I don't see this happening for some time to come with some conscious usage. I will update as time goes on. Second, installation. As many have stated, the template is poorly designed. Knowing this from other reviews, I never even opened or used the template. I constructed the gate as it would be if it was completed and installed at the top of my stairs. Because there are adjustable bolts to make sure the gate is snug against the hinges, you can put the entire gate together and have it just resting on the wall with the tension created by expanding the bolts on either side to support the gate. Then, I took a level and made sure all hinges, and the gate itself, was vertically and horizontally level. Then, I took a pencil and outlined the hinge brackets while the gate was suspended in place, between the walls. Next, you remove the gate, take off the hinge seats from your constructed gate, and proceed to screw in the hinges by placing them back up on the wall neatly within the outline you just drew with a pencil. To be sure to start with the swivel hinges first. Place the swivel hinges back on the gate, then situate the gate with the swivel hinges back onto the wall, with the hinges within the pencil outlining. Because you can simply turn the gate so you can access the screw holes, screwing in the swivel hinges is easy. Next, you place the lock-in hinges on the other wall, and repeat the same process of placing them in the outline and screwing them in. And like that, you are done. It took me maybe 20 minutes to put this gate in. It wasn't rocket science, nor do you need the template. While I didn't have this problem, but if you find that the gate isn't quite level to make a fairly smooth lock in process, you can shorten or length the swivel side bolts that extend from the gate itself to change the leveling of the gate by small amounts. This should alleviate any misalignment issues. Third, fastening the gate securely to the wall: the instructions state this gate should be mounted into wood, not drywall. I saw at least one customer complain the gate came out of the wall, with a picture showing the holes in the drywall.... It appears to me they didn't read what the gate is to be mounted to. If you make sure the gate is mounted on wood, as instructed, the gate detaching from the wall shouldn't be an issue (unless something else breaks). The only issue I do see, is that if you are having to screw through drywall, into a stud, the screws it comes with are not super long. This seems to me to be a design flaw and should be corrected by the manufacturer providing optional longer screws. The obvious solution to this is to get well-made screws that are the same diameter, but that are longer, to ensure that your screws sufficiently anchor into the stud behind the drywall. As for the construction of the gate itself, it is lightweight and sturdy. The two clamps that you screw down on top and bottom of the gate are well made and seem to lock in the gate nicely. Another plus is I do not see any loose parts, shape edges, or anything that would create harm to my baby once he starts putting his hands (and I assume his mouth) on the gate. I have not searched to see if this gate is BPA free or not. I hope that it is. If it isn't, letting your little one touch the gate and suck on any part of it would not be good. If I can find info about the substance of the materials, I will update. Al in all, I think the gate is going to work well, it will just need to be mindfully used to get the maximum life out of it.
Trustpilot
3 days ago
1 month ago