Deliver to South Africa
IFor best experience Get the App
🛡️ Elevate your outdoor space with hassle-free, stylish privacy!
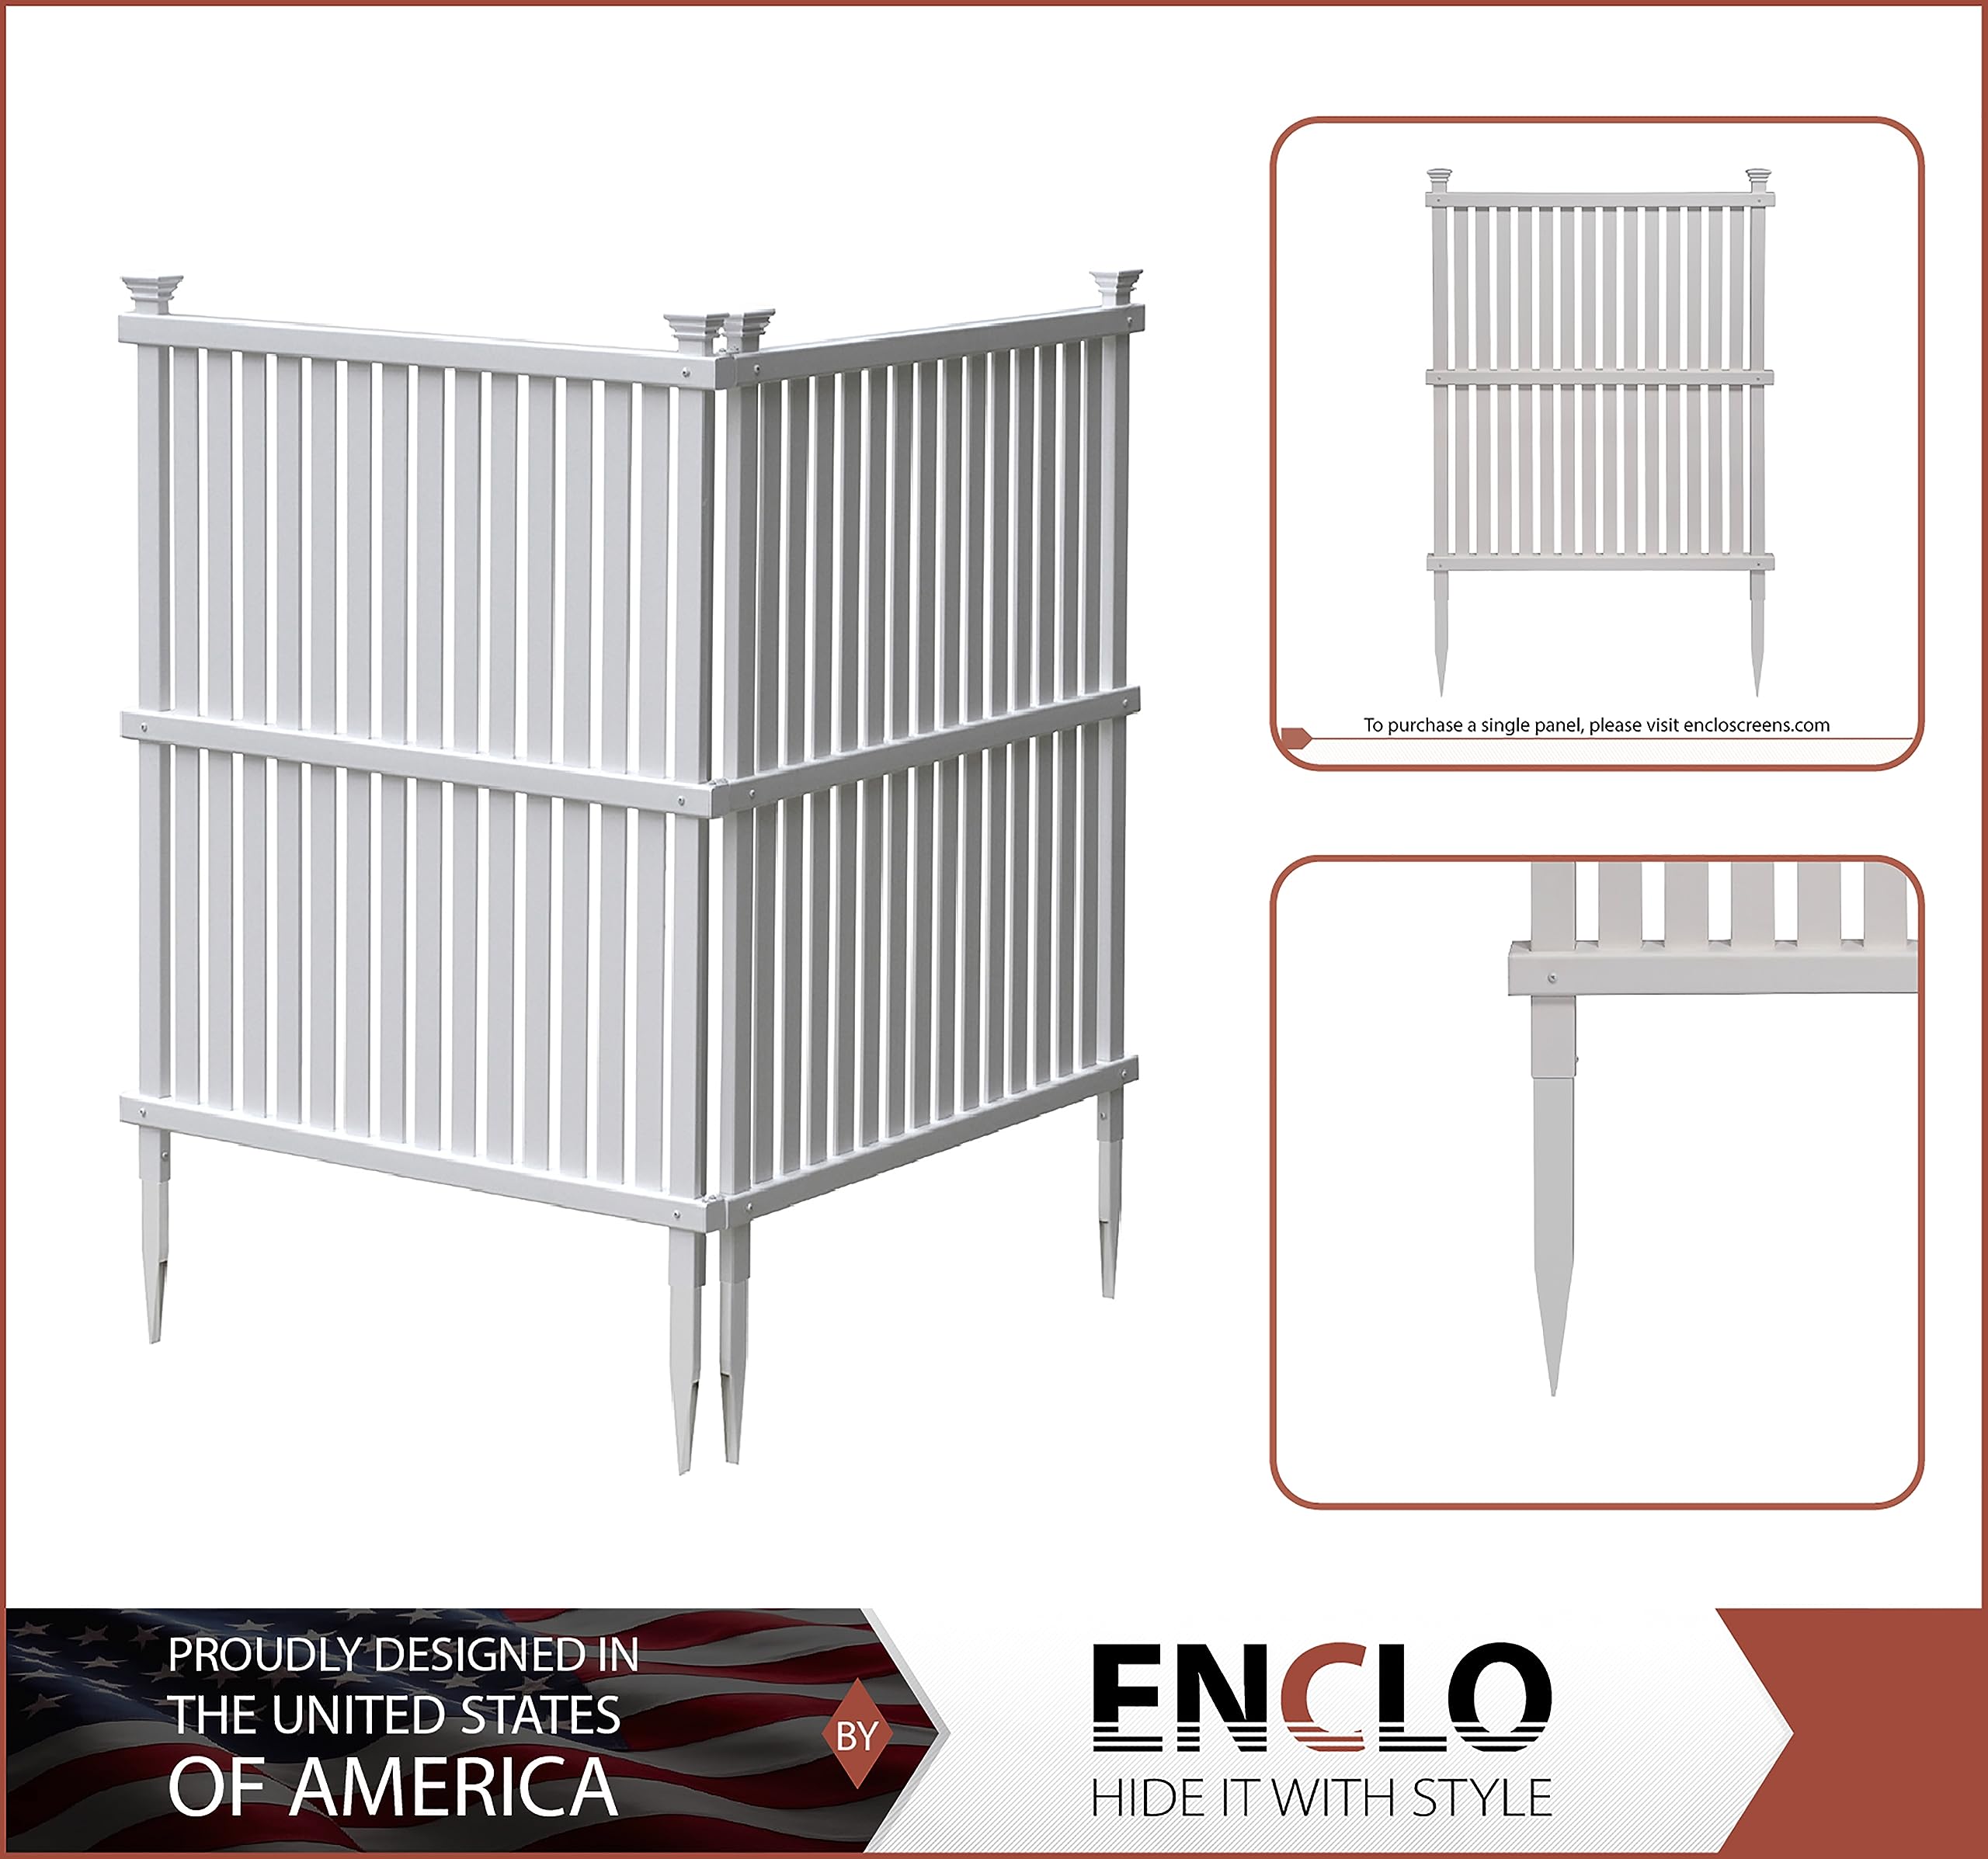
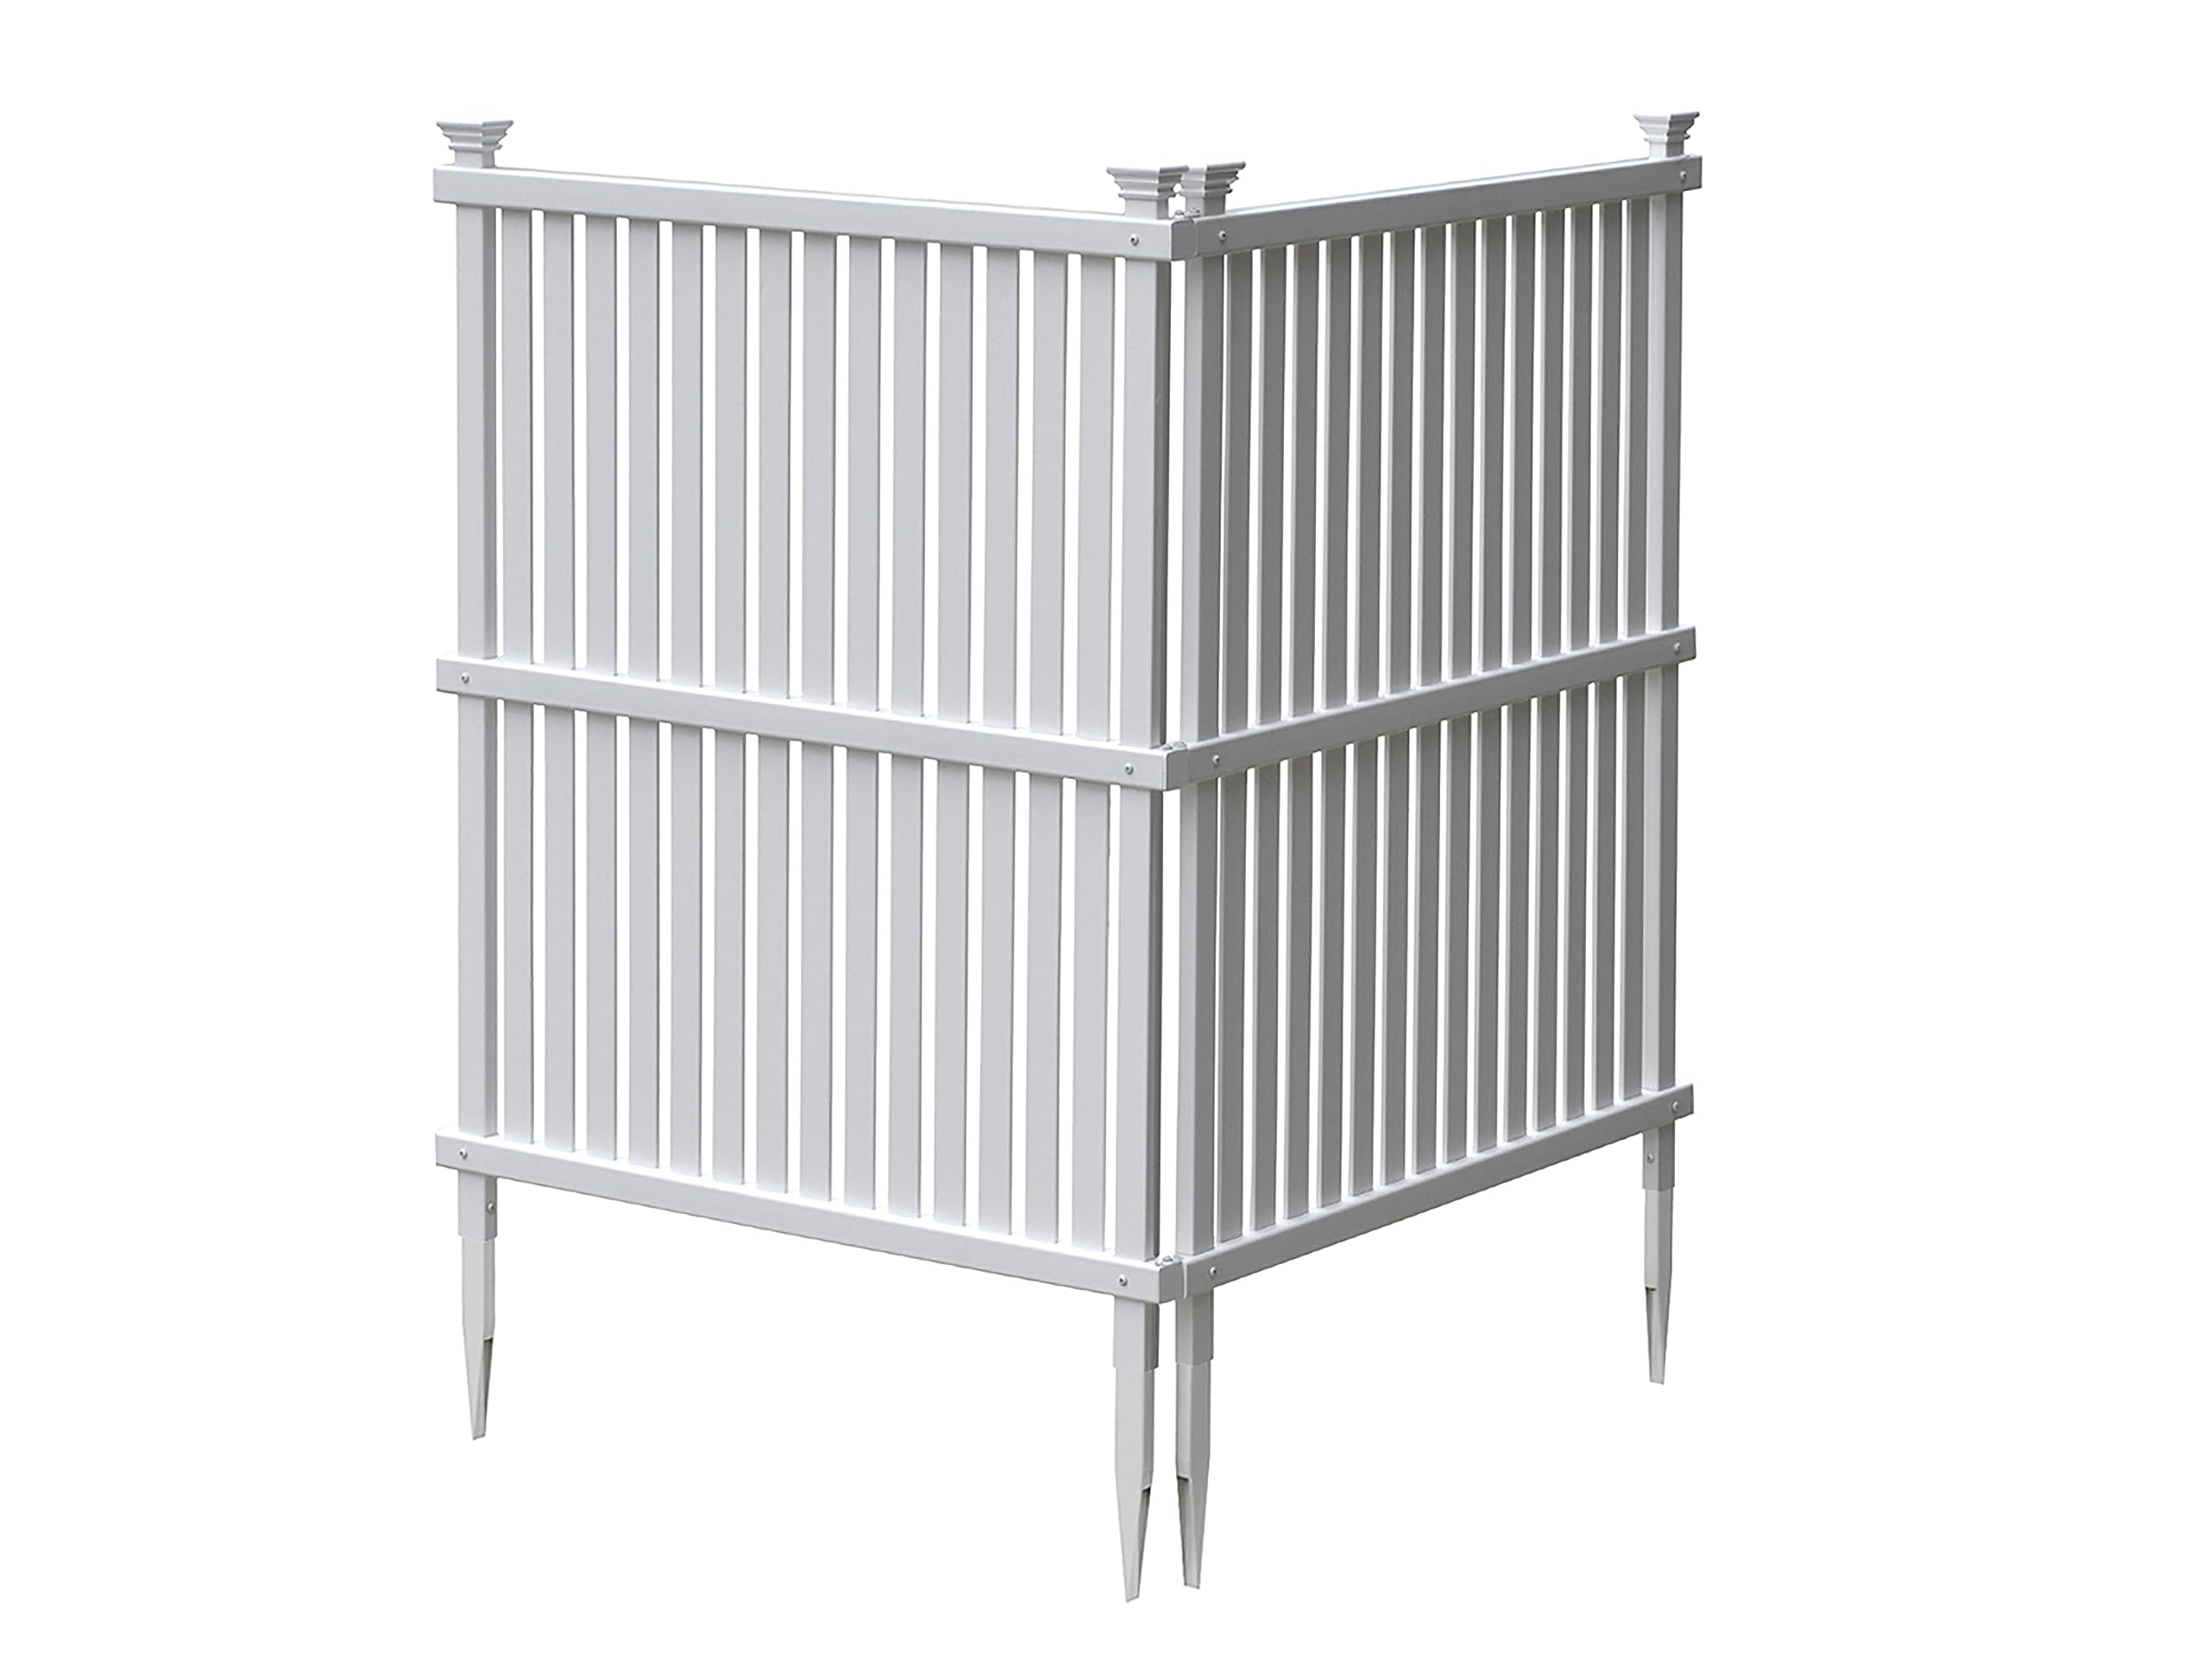
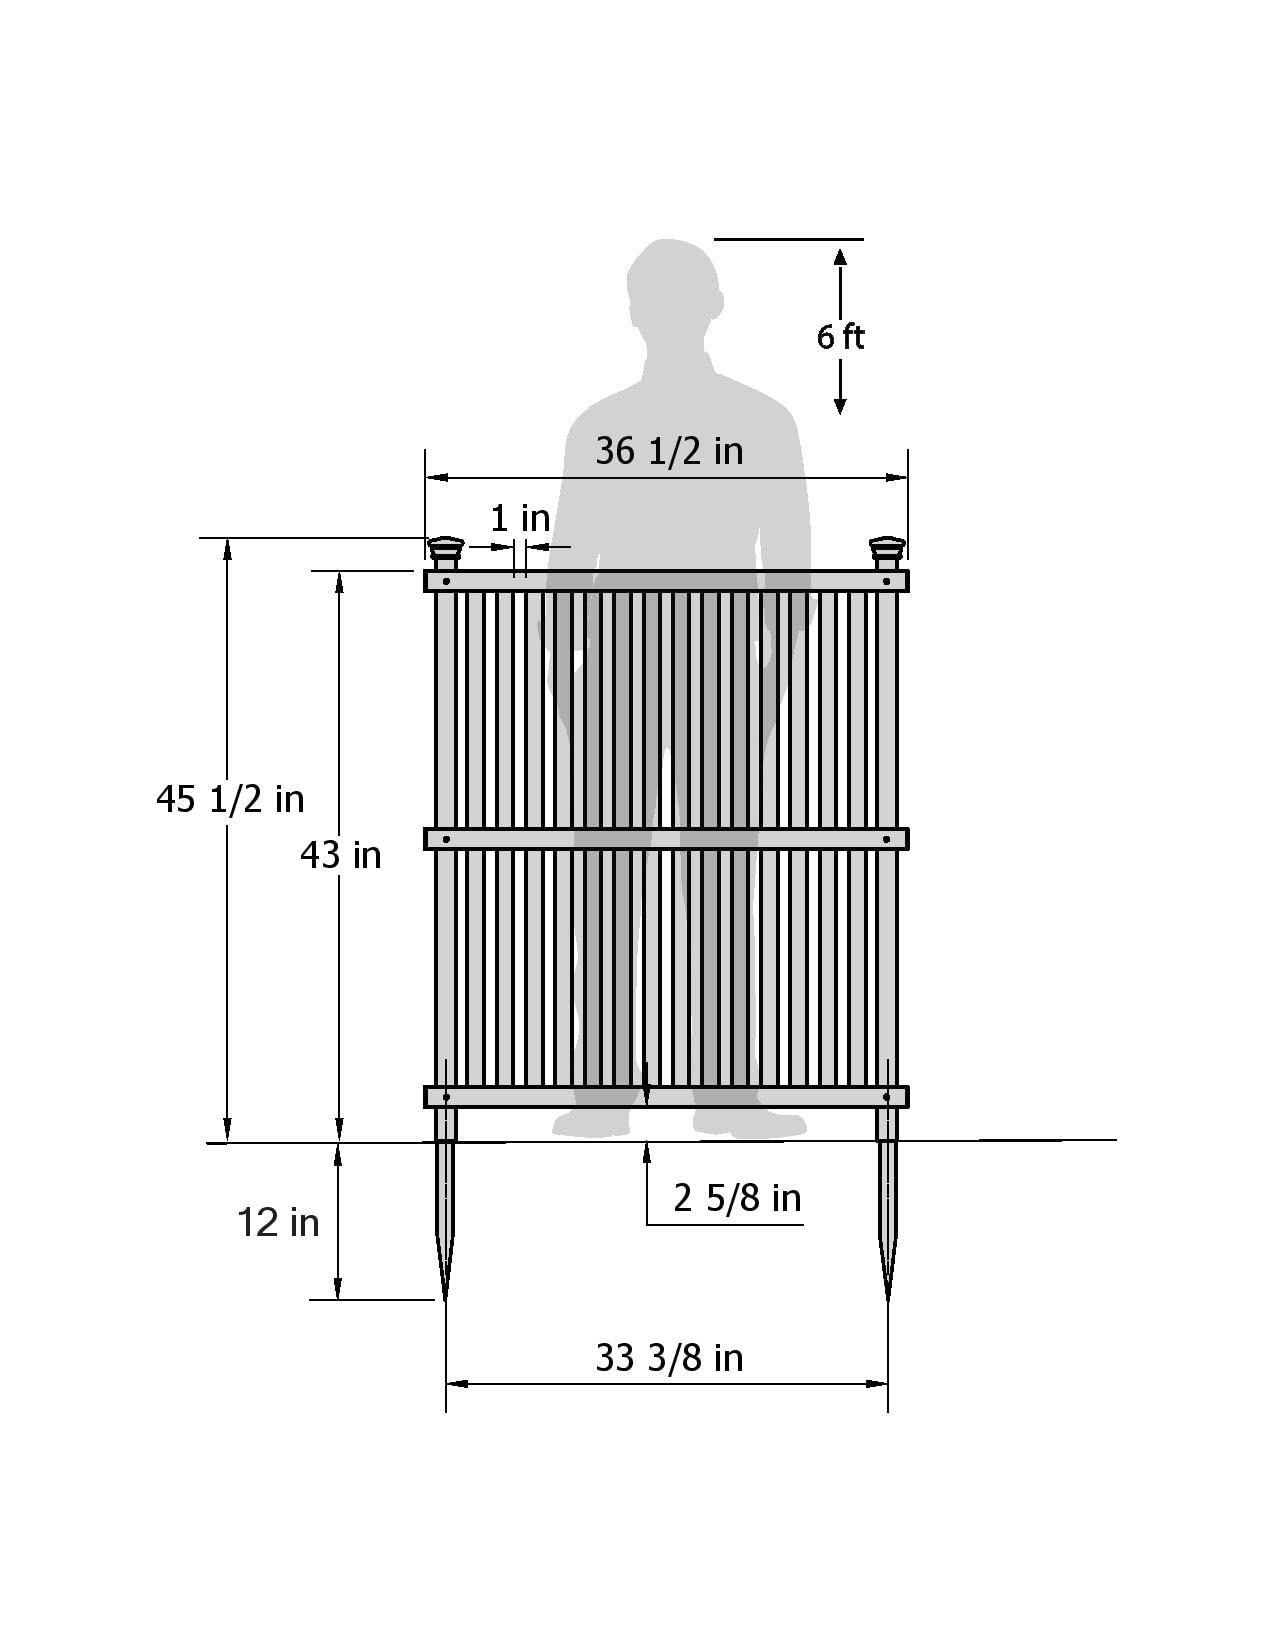
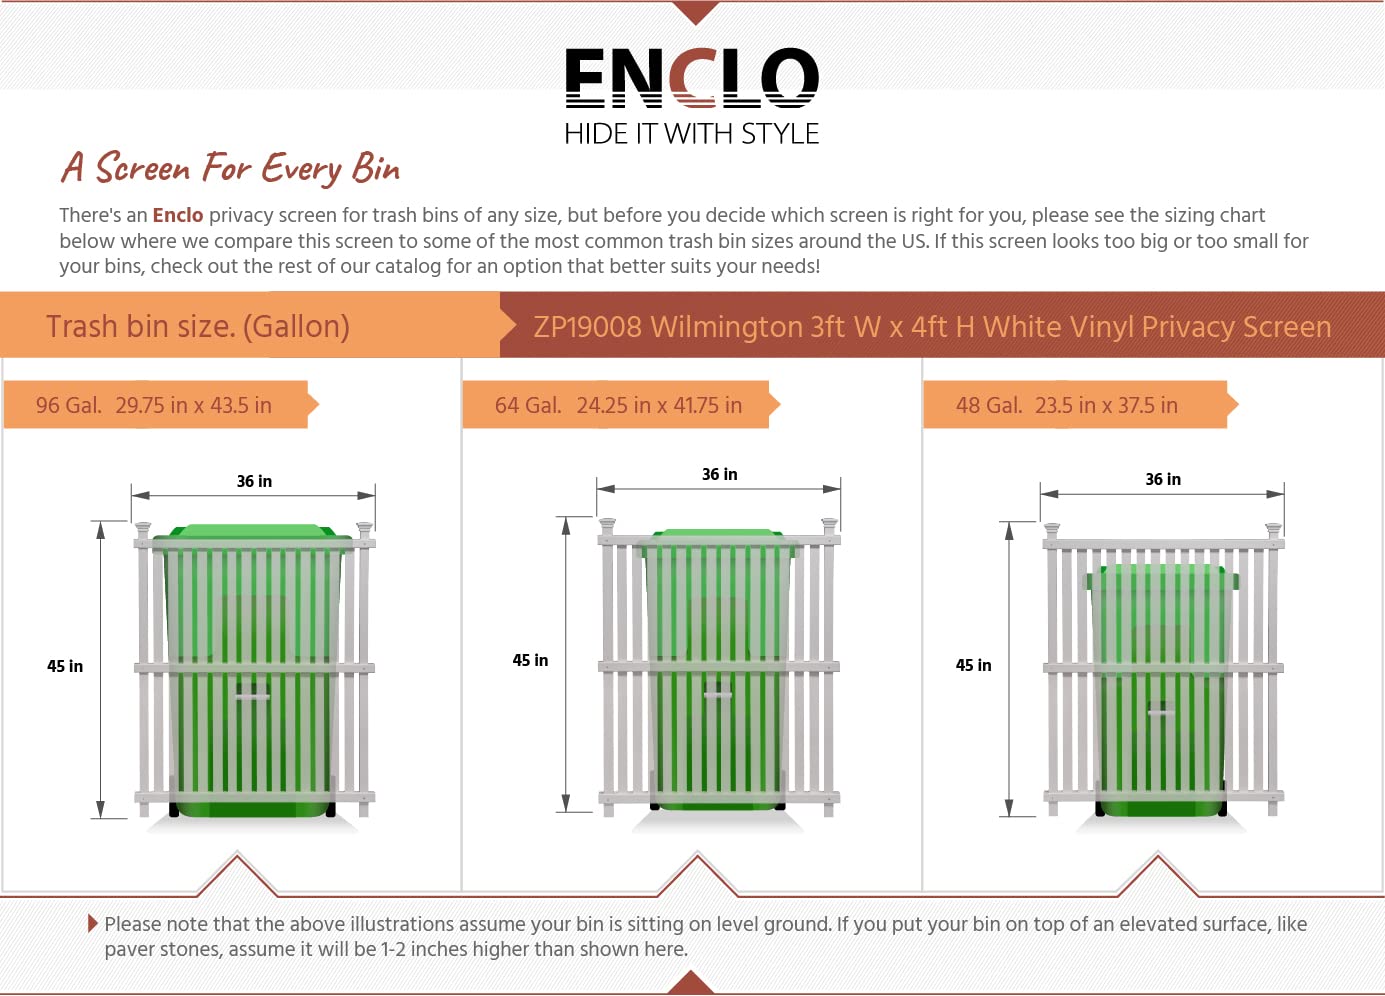
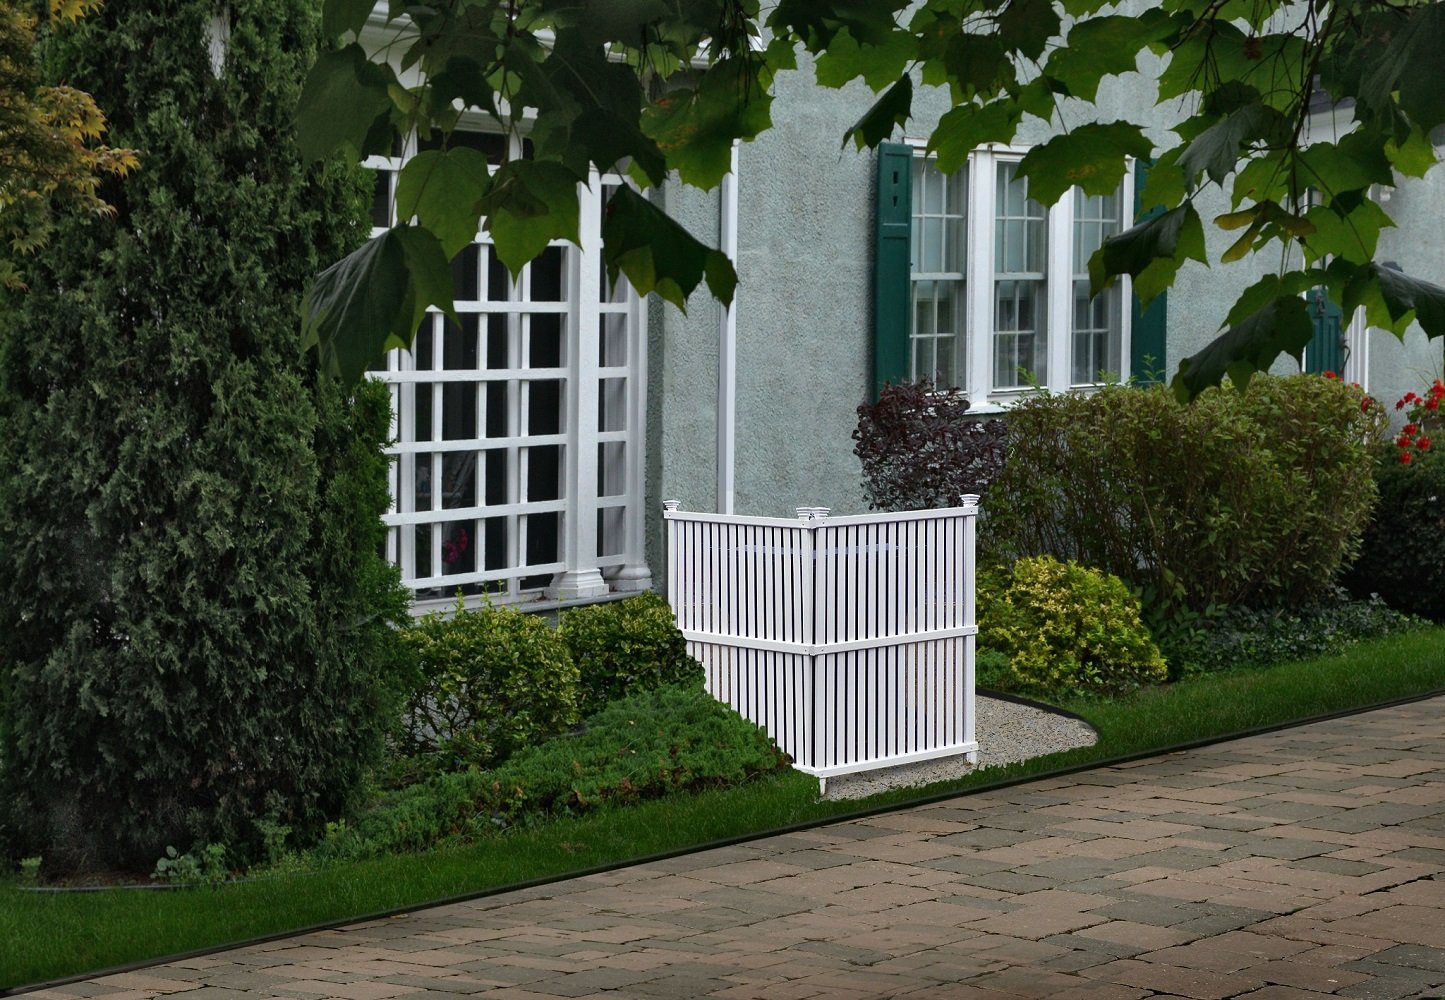
The Enclo Wilmington White Vinyl Privacy Screen features two 36.5" x 45.5" panels made from UV-protected vinyl, designed for quick no-dig installation. It offers a clean, modern aesthetic to conceal outdoor equipment and comes with a 10-year warranty against weather damage, ensuring long-lasting durability and style.
Material | Vinyl |
Color | Wilmington Screen |
Brand | Enclo Privacy Screens |
Style | Wilmington |
Product Dimensions | 45.5"L x 36.5"W |
Assembly Required | Yes |
Number of Pieces | 10 |
Unit Count | 24.0 Sq Ft |
UPC | 688950892304 673995190089 |
Global Trade Identification Number | 00673995190089, 00688950892304 |
Manufacturer | Enclo Privacy Screen |
Part Number | ZP19008 |
Item Weight | 9.9 pounds |
Country of Origin | USA |
Item model number | ZP19008 |
Is Discontinued By Manufacturer | No |
Size | Wilmington Screen (2 panels) |
Shape | Rectangular |
Item Package Quantity | 1 |
UV Protection | True |
Included Components | 2 hideaway screens |
Batteries Included? | No |
Batteries Required? | No |
Warranty Description | 10 years |
L**N
Good Screen Product
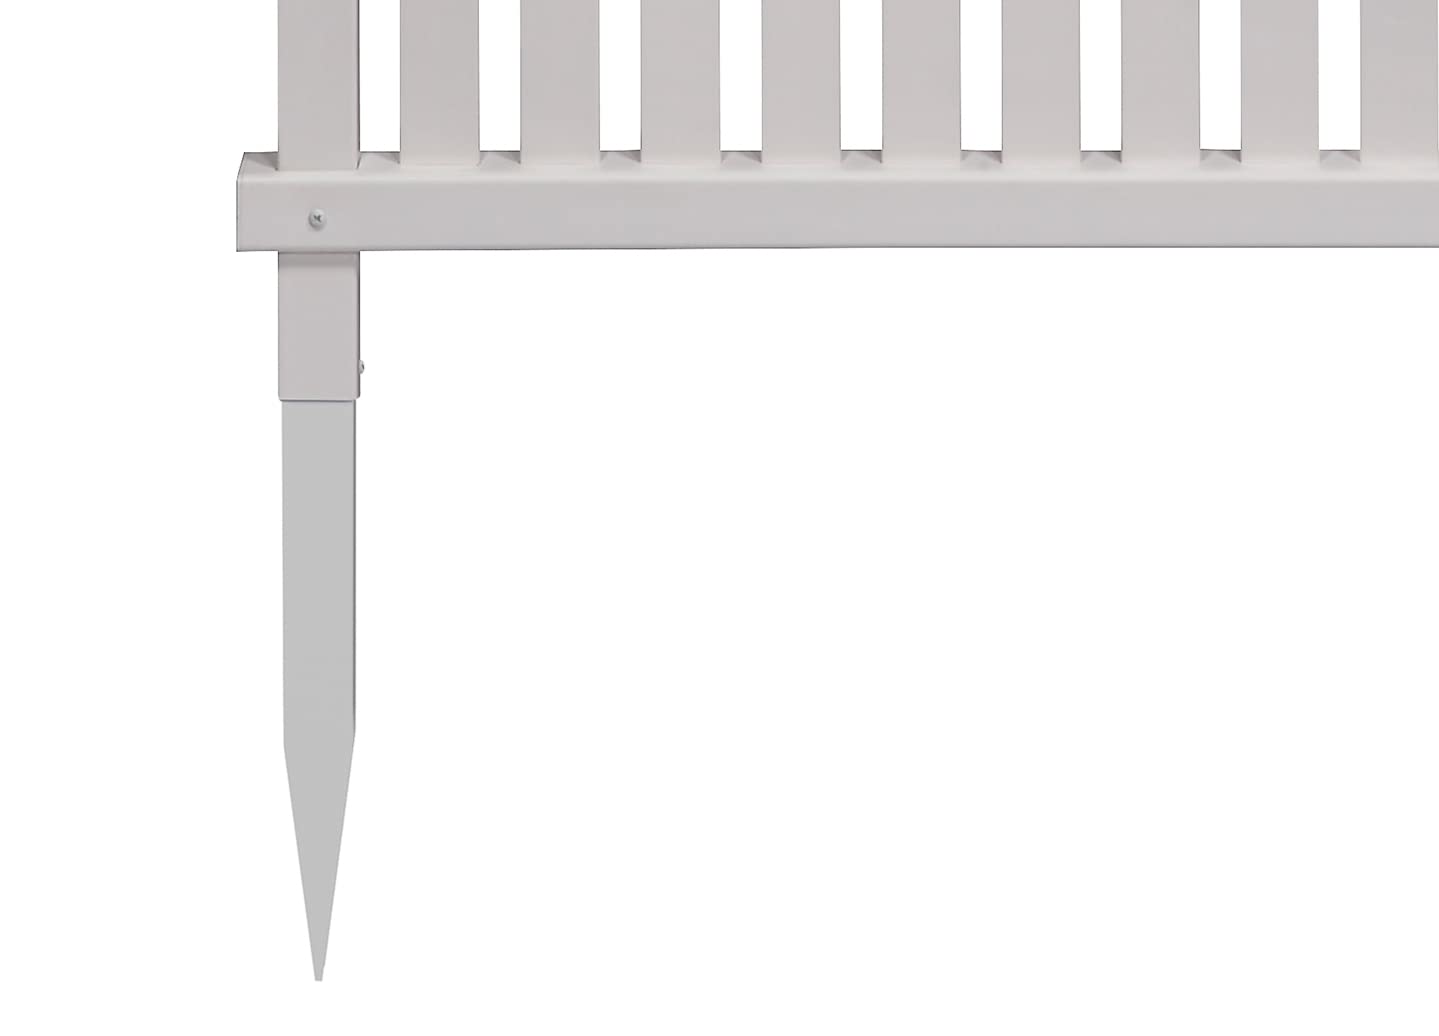
Great product if you're looking to screen some garbage cans or AC. Very easy to assemble and install. We only embedded the stakes in the soil and are going to see how that works over the year and then decide if we want to put in a concrete base but so far looks good. We had concern over the pvc stakes but they seem to be strong and also you don't have any corrosion problems over the years. I did tape the tops of the stakes so water doesn't fill them up and when it freezes in them would crack them. I also drilled a couple of holes on the bottom of the horiz. rail so that any water that got in would drain out and not allow frozen water to crack the PVC. Good product, others in our neighbor also purchased for their homes after seeing what we installed.
C**E
Satisfied
Easy to put together. That being said, I made a mistake and needed another slat and the company sent one right away. Exactly the look I wanted.
C**I
Work well, easy to install
Works well to cover my AC units. Bought two sets as I have two AC units.Angled the posts and they look great. Easy to install and lasted through the first winter.Help protect a little against the constant sun exposure as well.
B**N
Much better product than I thought it would be
We recently removed our bush that hide our garbage can. With the low price on this we didn't think it would be that good, but decided to try it. We were pleasantly surprised. Very stable and perfect to hide the can. Very pretty. We have had several complaints on it. People even stop while driving by and ask where we got it.
J**N
Exactly what I was looking for!
I wanted something to cover up the eyesore of my pool filter and heater, we spent a lot of time getting our pool area to look decent(still a work in progress) but we had the eyesore of the heater and the filter, I wanted something to block it, and this did the trick. My hubby said that it wasn't difficult to put together, but it was time-consuming. It's made of quality material and is tall enough to cover up the unsightly filter and heater. It doesn't drown out the noise a whole lot but a little bit, that wasn't my main concern though. It took four panels to cover it up. Very happy with this purchase. I will update this review if anything negative happens in the next few months.
M**K
So many pieces
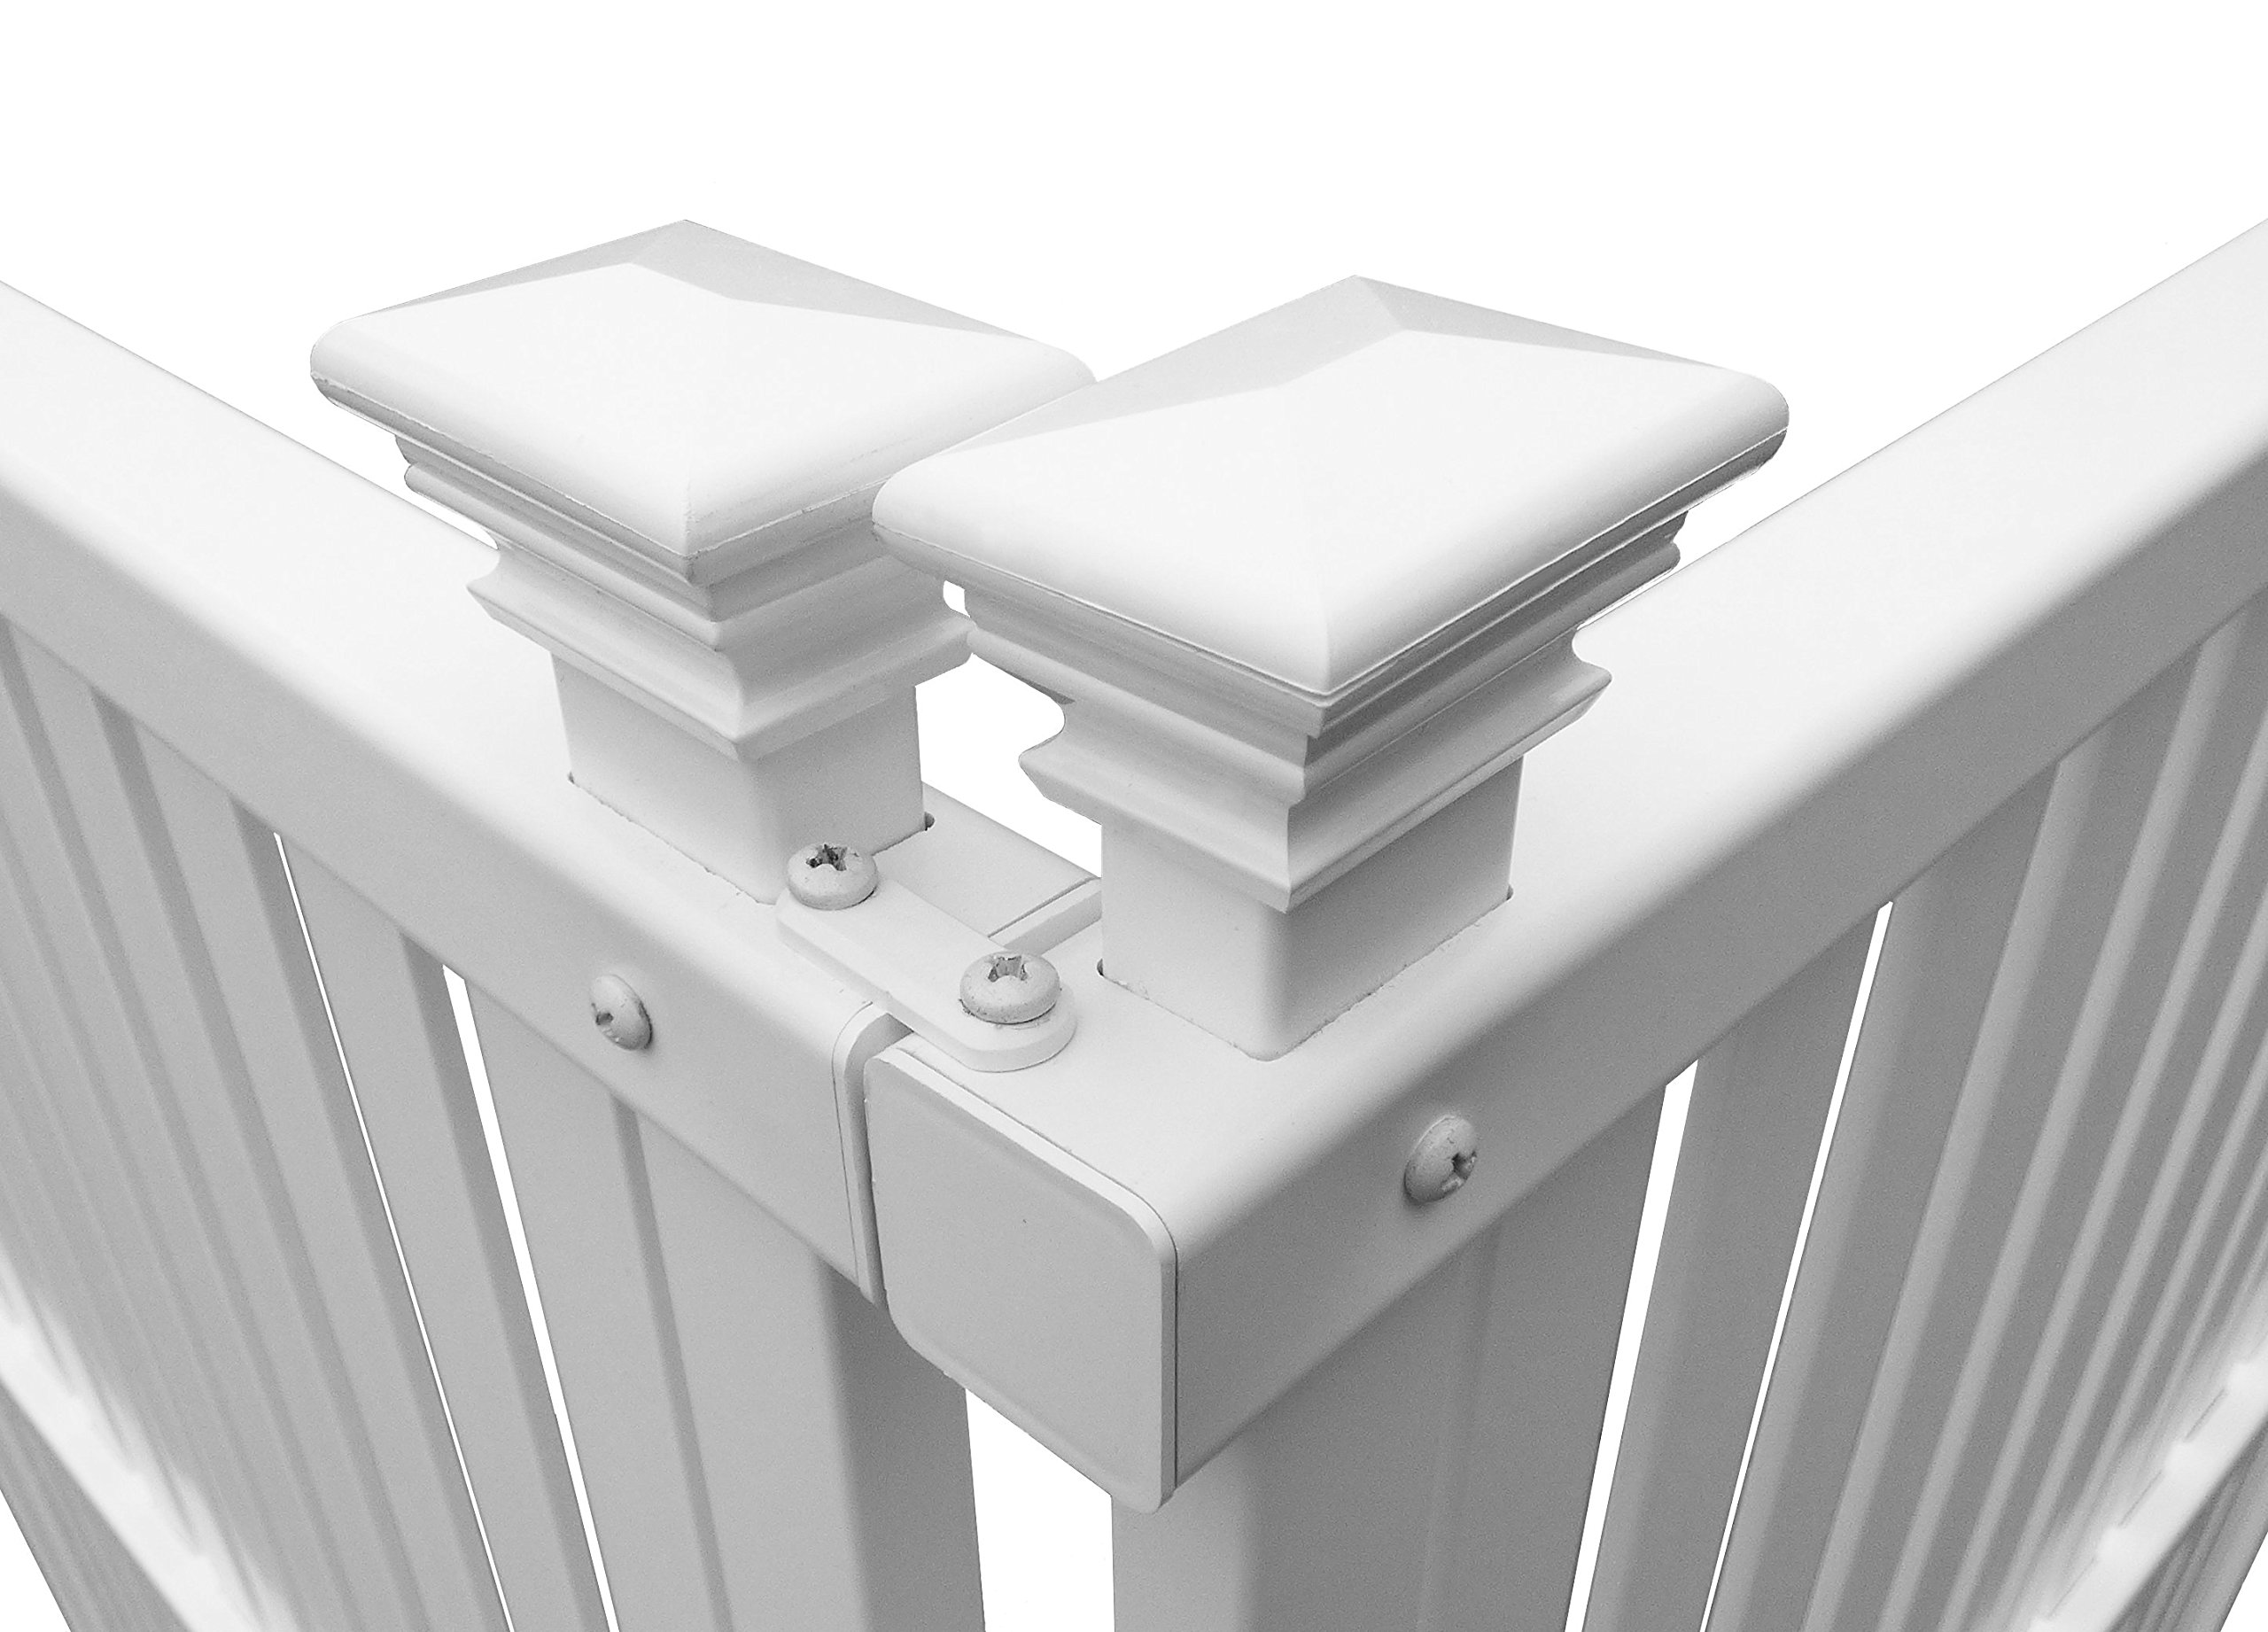
Took longer than I expected to build. But it all fit and came together just fine. The slats are smaller and thinner than I expected. Price is right and it looks good. No good way to join the sections together. The included couplers are really flimsy.
P**N
I like them
I bought them to cover an unsightly stump and garbage can. They matched our picket fence so it was an easy choice. However, so many people seemed to have a problem with assembly.a. The reason the pickets are hard to get through the holes is that there are tabs that keep them from rising back up. I used a rubber mallet with a gentle tap on the top they went right in each set of holes.b. There are numbers located down by the holes on each picket. At the bottom. They are engraved not colored or paper so I used a magnifying glass to see them clearly. There are four of each except for the number 8 of which there are two. The larger the number the shorter the picket.I gathered the matching numbers together. I put rubber bands around them to keep them grouped then pulled one as I needed it. The number 8 goes in the middle; then a 7 on each side; then a 6 on each side etc. down to the ones. I had to push the pickets through the top hole and after that it went down short enough that I could reach the top with the mallet. Two gentle taps and they went down to the next hole.The mallet saved my hands. My husband said that if a person didn't have a rubber mallet, they could use a regular hammer on a block of wood. (put the block on the top and gently tap the block with the regular hammer). I cannot attest to this method not having tried it.I did not receive a discount or a free product. But I really like the fencing and it looks really nice.
C**U
This is an awesome little fence, but instructions are a bit off
I have used it to cover 2 sides of the A/C unit and it was easy to put together. (I will plant a few wisteria plants to go around the fence and make it really a green fence. + I will get some noise protection.)However, do not follow the directions until the end. After you attach the slats, do not screw the bottom screws to the plastic spikes. Take the fence with the spikes barely attached to it and set it on the ground and push the spikes in as much as you can. (Before you do that, you should also pour a bucket of warm water over where the spikes are to go into the ground, if the ground is not wet. Or, use a garden hose to water the ground down for a few minutes.) After the fence is well positioned, remove the fence and leave the spikes into the ground. Use duct tape to wrap the end of the spikes, about 3-4 times over. Get a hammer and a 2x2 end (any spare wood board will make, but at least 1 inch thick.). Put the 2x2 end on top of the duct tape ends and hammer the spikes in until you have about 5 inches left out. Remove the duct tape and put the fence posts in. Use a level and assess if you need to adjust the depth of the spikes. Repeat until the fence is level and about 48 inches tall, at the tallest point. When done, screw the ends in and you are done. Easy peasy!However, on my first go around I damaged the spikes (cracked them) because I failed to use duct tape to wrap the spike ends. (I also did not use a 2x2 piece of wood. Duh!).I sent an email to the manufacturer and they promptly shipped 4 new spikes. Great stuff!
Trustpilot
4 days ago
3 days ago