Desertcart purchases this item on your behalf and handles shipping, customs, and support to South Africa.
๐ Transform your garage into a sleek, durable workspace with zero fuss!
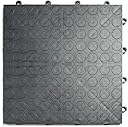
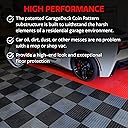
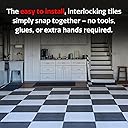
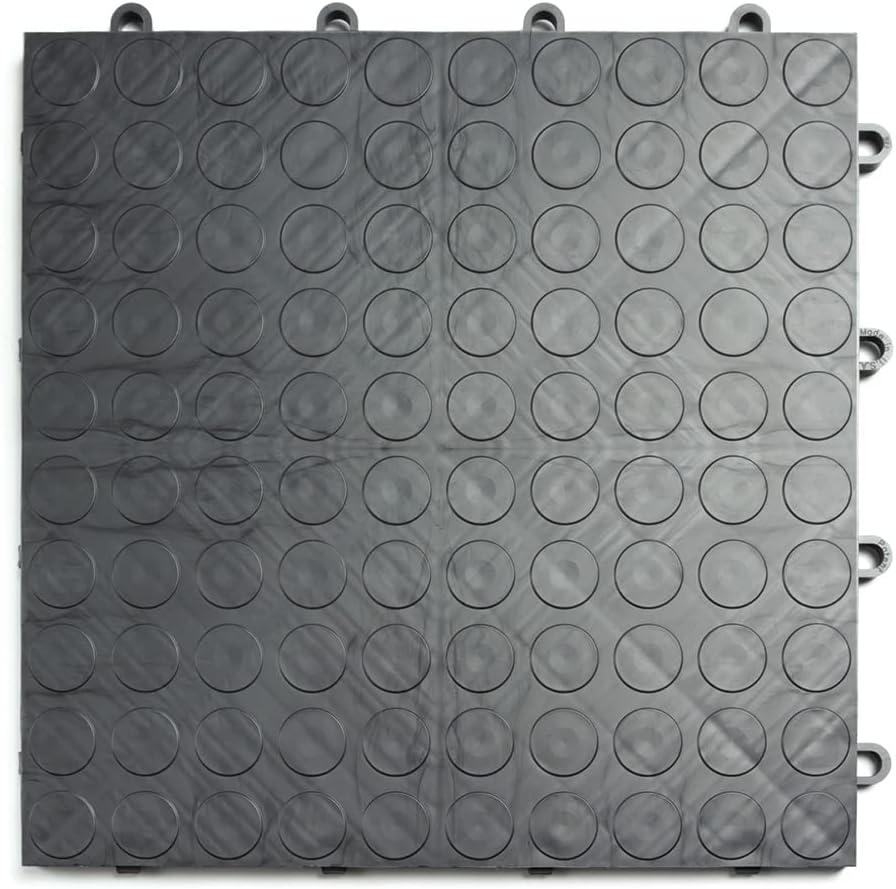
GarageDeck Coin Pattern modular flooring tiles offer a premium, non-toxic copolymer surface engineered to resist oil, grease, and chemicals while supporting rolling loads over 40,000 lbs. Featuring patented PowerLock interlocking technology, these 48-pack tiles snap together easily without tools or adhesives. The slip-resistant coin pattern ensures safety and effortless cleaning, while endless color combinations let you customize your garageโs look. Made in the USA, these durable tiles provide a cost-effective, stylish alternative to epoxy floors.


| ASIN | B0753WZM6Q |
| Additional Features | Durable, Slip Resistant |
| Brand | Big Floors |
| Brand Name | Big Floors |
| Colour | Graphite |
| Country of Publication | USA |
| Coverage | 144 square inches |
| Customer Reviews | 4.5 out of 5 stars 652 Reviews |
| Edge Type | Square Edge |
| Finish Type | Powder Coated |
| Form Factor | Square, Flat |
| Global Trade Identification Number | 00810202030329 |
| Included Components | GarageDeck Coin Pattern Interlocking Modular Garage Flooring Tile (48) |
| Installation Method | Interlocking |
| Item Dimensions L x W | 30.5L x 30.5W Centimeters |
| Item Thickness | .5 Inches |
| Item Type Name | Durable Interlocking Modular Garage Flooring Tile |
| Item Weight | 0.85 Pounds |
| Manufacturer | SnapLock Industries |
| Manufacturer Part Number | GD48GRPH |
| Manufacturer Warranty Description | 12 |
| Material | Copolymer |
| Material Type | Copolymer |
| Model Number | GD48GRPH |
| Pattern | Solid |
| Product Finish Type | Powder Coated |
| Shape | Round |
| Size | 48 Pack |
| Style | Modern |
| Style Name | Modern |
| UPC | 810202030329 |
| Unit Count | 48.0 Square Feet |
| Water Resistance Level | Water Resistant |
P**N
Great Product
I looked into having an epoxy/polyurea treatment on my garage floor, about 450sf. The costs were all above $3,000. I investigated this product and installed if for under $1,300. These are very solid tiles and well made. They snap together and, be warned, once snapped together on the floor, will not come back up. I bought gray tiles for most of the garage, and for color, installed black ones where we park the car and blue ones where we park the Can Am. I installed them when my wife was away for a few days. The total installation time was about 2.5 days with just me doing the work. My wife was blown away. The video shows how to separate the tiles as they come 4x4. I found that if I placed a single tile (face up) below the interface of the two tiles, that when grabbed the interlocking parts with a plier, I could press down and the one connection would pop open. You then have to do this for each of the four interlocking parts. It goes pretty fast once you get the hang of it. I didn't damage any of the tile. In some cases, I could just install all four tiles at once. I would align them, step down on an edge, and then repeat over each of the interfaces. No need, typically, to get on your knees to install them. I used a 12" chop saw to cut the pieces; it worked great. This floor looks great, is holding up very well, is easy to clean (broom or leaf blower), and isn't cold on your feet when you walk on it; I think it stays cleaner too. It does make a plastic-like sound when you walk on it. Remember to buy the edging for the entrance into the garage.
D**R
Garage tiles lack flexibility
I was going to use it to cover my concrete deck under my carport but found it to be too rigid and it did not mold to an uneven section on the deck...I assumed that it was more flexible than that when I ordered. I will need a product that has more rubber for flexibility.
A**E
Looks great and holds up well.
When my house was built, the concrete garage floor was not scored (why??), which left multiple random cracks after a couple years. I considered epoxy, but after watching my neighbor toiling for several days doing the prep work and applying the multiple coats, I questioned if that was the way I wanted to go. I wasn't convinced of the durability of epoxy, so I sought out other options. The GarageDeck tiles fit the bill perfectly. I thoroughly cleaned the floor and patched the cracks. The installation was pretty straight forward, and required little cutting, which I did with a circular saw for the straight edges and a jigsaw for cutting around the garage door tracks. I used black tiles for the boarder and center, and graphite tiles between those. It looks really good and has been everything I wanted for my garage flooring. And the beauty is that if there happens to be any damage along the way, I can snap out the old tile and pop in a new one. It was just about $600 for a one car garage - well worth it. I'm 75 and worked at a very leisurely pace for just a few days (I had a lot of stuff to move around in the garage) to complete the job. I recommend the GarageDeck/RaceDeck products.... great products, good value, easy installation, and really nice looking.
M**U
Best bang for the buck
Very easy to install, just need a mallet to connect the pieces. I used a large flat screwdriver to separate the pieces and it was super fast and efficient. I will be ordering more to cover the left side of my garage. Update: I bought more of these to cover the left side of my garage (covers 2 bays). I was able to remove them pretty easily when making changes. Only once did I have a tile with a damaged loop but it was easy enough to rebend it to ensure a good connection with the other tiles. For a 3 car garage, it would be about $1800 to cover all of it and seems to be a much lower cost point then doing a professionally applied epoxy coating that might have issues later on.
W**W
Great solution for an old basement floor
Overall easy to work with, but they come in preassembled 4s and any time you need to work edges or cut pieces, you need to take them apart. Once clipped together, they are extremely hard to get apart. I would lay them face-down on my workbench and use pliers to squeeze each clip, working my way along between the tiles, while sliding my other hand along to separate them. It was hard on my hands as the backsides are so jagged. The good news is, they stay clipped once you put them down. Just line them up and step on each place there is a fastener, and they will snap into place. Looks so clean and nice compared to my old basement floor. I cut the pieces with my 10" tile saw which worked perfectly.
Trustpilot
1 month ago
1 week ago