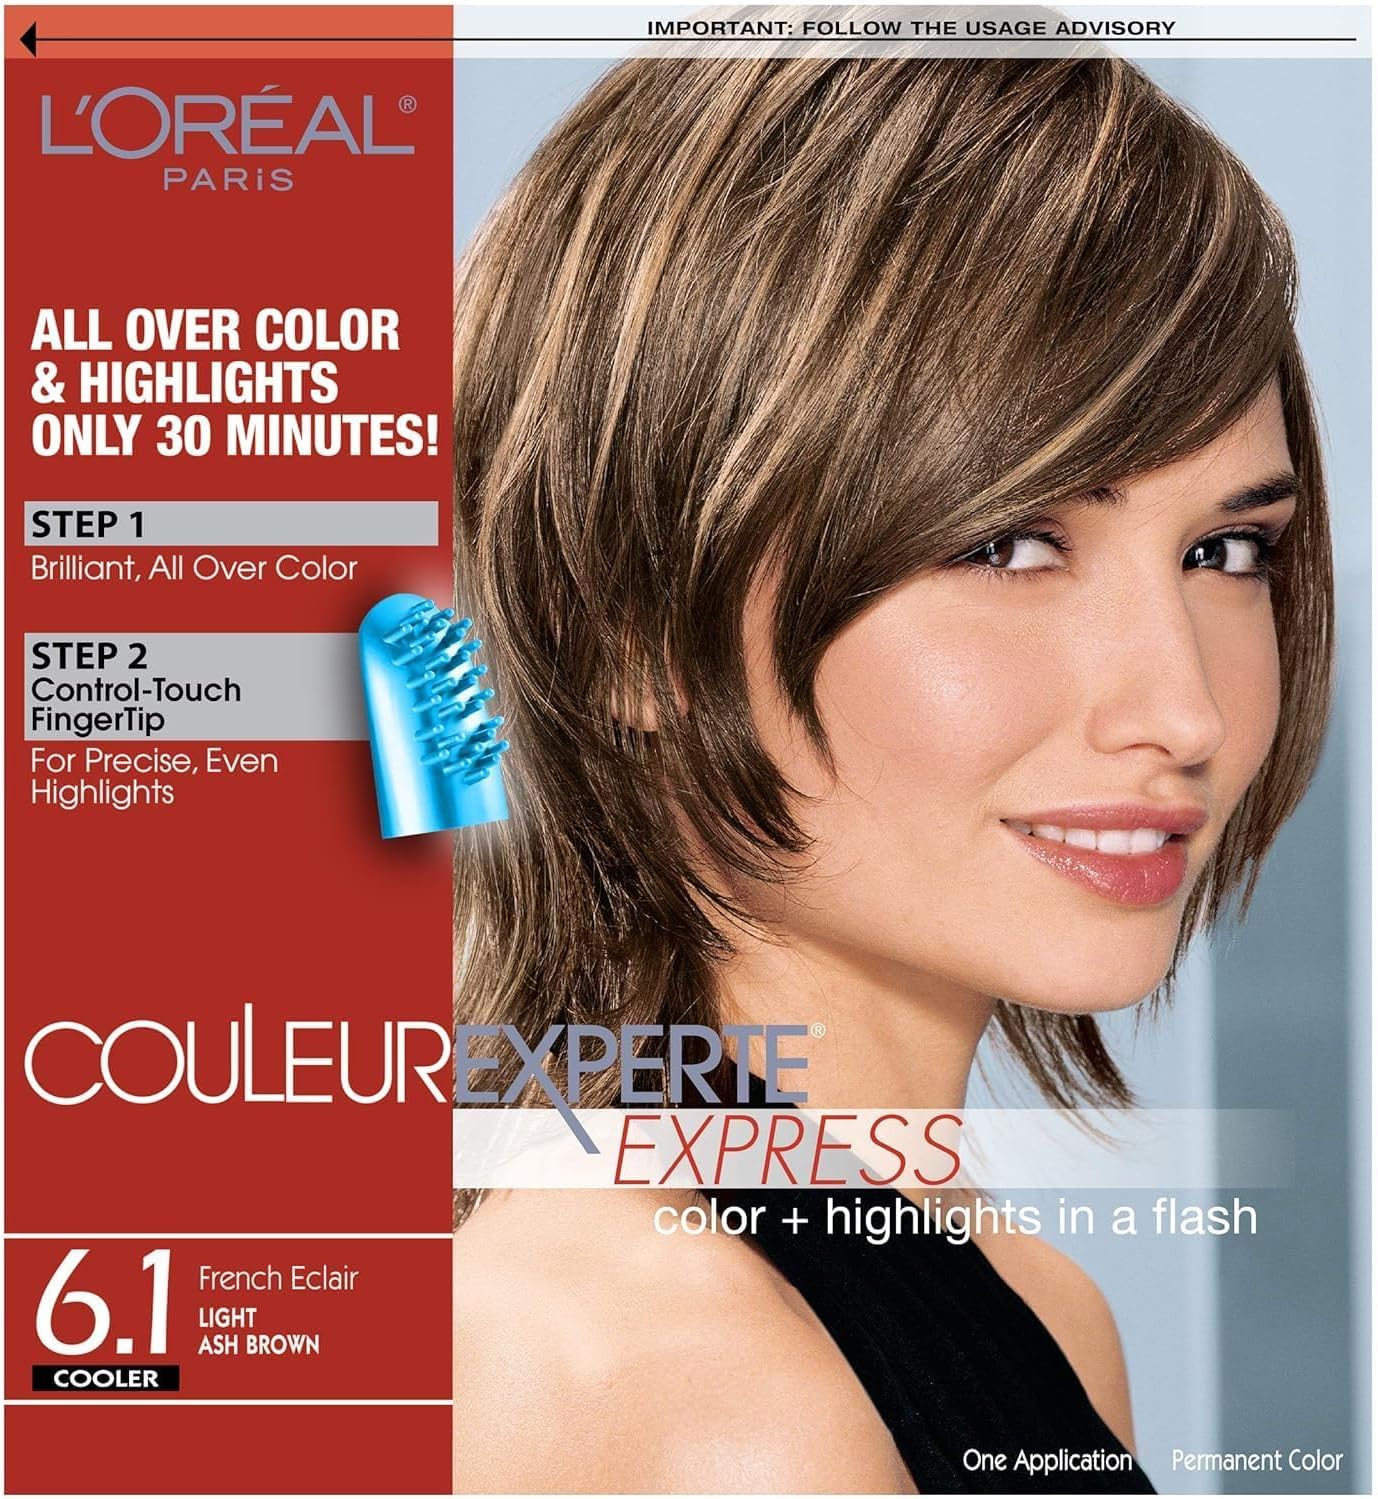
Description
🎨 Transform your hair game with effortless dual-tone brilliance!
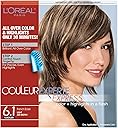
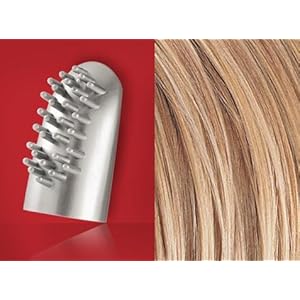
- DUAL SYSTEM MAGIC - Permanent base color and highlights in one easy kit.
- TRUSTED PARISIAN EXPERTISE - L'Oreal Paris innovation delivering professional results at home.
- EFFORTLESS 2 STEP APPLICATION - Simplified process for flawless, even color and highlights.
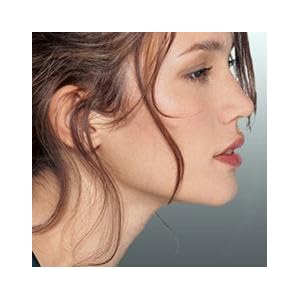
- TAILORED SHADES FOR EVERY MOOD - From bold to subtle, find your perfect light ash brown tone.
- SALON QUALITY COLOR IN 30 MINUTES - Get a rich, elegant look without the salon wait.
L'Oreal Paris Couleur Experte 2-Step Kit offers a unique at-home hair coloring experience combining permanent base color and harmonizing highlights in just 30 minutes. Designed for normal hair, this gluten-free cream kit delivers salon-quality light ash brown results with a simple two-step process, backed by L'Oreal’s trusted Parisian beauty expertise.