Description
🔧 Elevate your kitchen game with the ultimate microwave mount—secure, sleek, and stress-free!
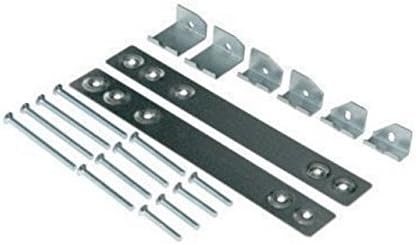
- ROBUST METAL CONSTRUCTION - Crafted from strong materials to securely hold your microwave with confidence and durability.
- COMPLETE MOUNTING KIT INCLUDED - Comes with all necessary hardware for quick installation—templates not included, but simplicity guaranteed.
- TAILORED FIT FOR COMPACT MODELS - Specifically engineered for Spacemaker II and select compact GE microwaves, ensuring perfect compatibility.
- DIRECT REPLACEMENT FOR TRUSTED MODELS - Exact size match for GE JXA019K and WX4-A019, making replacement hassle-free and reliable.
- EFFORTLESS OVER THE RANGE INSTALLATION - Mount your microwave seamlessly under wood or metal cabinets for a sleek kitchen upgrade.
The Under Cabinet Mount Microwave Mounting Kit by Bagean is a precision-engineered, durable metal bracket designed to securely hang over-the-range microwaves, specifically compatible with GE JXA019K and WX4-A019 models. Ideal for compact Spacemaker II microwaves, it includes all necessary hardware for installation, offering a reliable and space-saving solution trusted by professionals and homeowners alike.