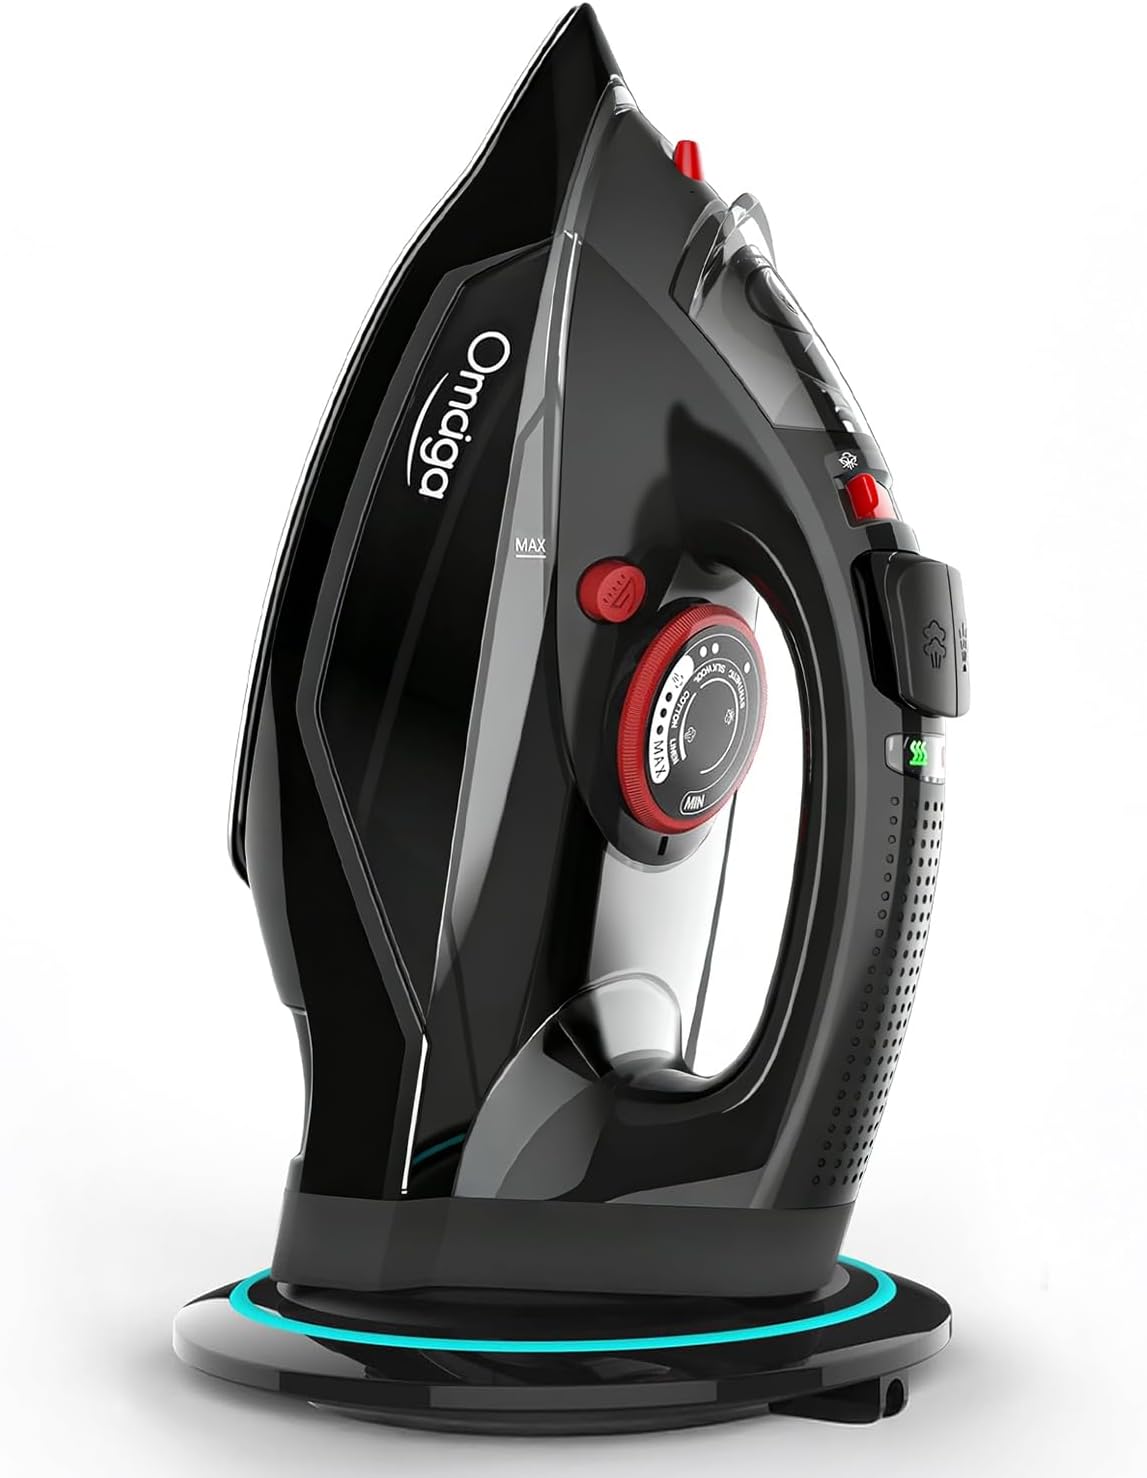



OMAIGA Cordless Steam Iron for Clothes, 1500W, Nonstick Ceramic Soleplate
Product ID: 468857588
Details
- BrandOMAIGA
- ColorBlack
- Product Dimensions12.4"L x
- Wattage1500 watts
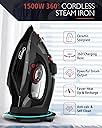
⚡1500W rapid heat
💧11.84oz large water tank
🔄360° cordless docking
Desertcart purchases this item on your behalf and handles shipping, customs, and support to South Africa.
🔥 Iron smarter, not harder — cordless power meets precision steam!
The OMAIGA Cordless Steam Iron combines a powerful 1500W heating system with a non-stick ceramic soleplate and a large 11.84oz water tank. Its cordless design with a 360° docking base offers ultimate maneuverability, while 3 temperature settings and adjustable steam handle everything from delicate fabrics to denim. Safety is prioritized with a 3-way auto shut-off, and maintenance is hassle-free thanks to self-clean, anti-calc, and anti-drip features. Perfect for busy professionals seeking efficient, stylish, and safe ironing.





| ASIN | B09ZQK9QJ7 |
| Base Material | Ceramic |
| Best Sellers Rank | #84,325 in Home & Kitchen ( See Top 100 in Home & Kitchen ) #63 in Irons |
| Brand | OMAIGA |
| Brand Name | OMAIGA |
| Color | Black |
| Customer Reviews | 3.9 out of 5 stars 1,124 Reviews |
| Frequency | 60 hertz |
| Included Components | Cups |
| Item Dimensions L x W | 12.4"L x 6.39"W |
| Item Highlight | Fast heating, Burst Steam, Auto Shut-Off, Self-Clean, 3 Temperature Settings, 11.84 oz Water Tank, Black, Everyday Ironing |
| Item Type Name | t-shirts jacket pants jeans cushion wedding dress |
| Item Weight | 3.5 pounds |
| Manufacture Year | 2025 |
| Manufacturer | OMAIGA |
| Model Name | Cordless Iron |
| Model Number | KB-950RV-BLACK |
| Model Year | 2025 |
| Number of Items | 1 |
| Number of Packs | 1 |
| Product Dimensions | 12.4"L x 6.39"W |
| Recommended Uses For Product | 1) Filling the tank Before first use, remove all packaging, including the protective cover on the soleplate. Make sure the iron is not plugged in. Set the steam switch to off. Fill the water tank via the filling hole. To fill the tank with the maximum amount of water, we recommend the iron is tilted vertically whilst being filled. Do not overfill the iron otherwise it will cause leaking from around the filler cap and may run down the iron. WE RECOMMEND THE USE OF DEIONISED, DISTILLED OR DEMINERALISED WATER., 2) Charging base Plug in the charging base and switch on at the mains. The charging base power light will illuminate. Rest the iron on its heel on the charging base, ensuring that the heel connector meets the charging base connector. Connection is made when the power indicator light on the handle illuminates. Wait until the iron reaches the desired temperature, then commence ironing. Throughout your ironing session, the iron MUST be replaced onto the charging base every few seconds or whenever you adjust your garments, to keep the heat topped up., 3) Temperature Selection Set the temperature dial to the temperature required (see 'Temperature Guide'). The temperature indicator light will illuminate red until the required temperature is reached, then it will turn green. NOTE: It is normal for the temperature indicator light to flicker between red and green whilst the temperature cycles up and down during charging. Tip: We recommend the temperature indicator light is allowed to cycle red and green twice before you begin ironing. The temperature indicator light and the power indicator light will switch on and off whilst you are ironing and replacing the iron on the base., 4) Switching on the steam If required, switch on the steam using the steam switch. The amount of steam is automatically adjusted to suit the temperature selected., 5) Using the water spray For stubborn creases, use the water spray button. If using for the first time, you may need to press this a few times to pull the water through., 6) Steam boost Press the steam boost button for an extra steam burst for stubborn creases / heavy fabrics. NOTE: For optimum steam quality, do not operate the shot more than three times in succession. Recommended Uses For Product 1) Filling the tank Before first use, remove all packaging, including the protective cover on the soleplate. Make sure the iron is not plugged in. Set the steam switch to off. Fill the water tank via the filling hole. To fill the tank with the maximum amount of water, we recommend the iron is tilted vertically whilst being filled. Do not overfill the iron otherwise it will cause leaking from around the filler cap and may run down the iron. WE RECOMMEND THE USE OF DEIONISED, DISTILLED OR DEMINERALISED WATER., 2) Charging base Plug in the charging base and switch on at the mains. The charging base power light will illuminate. Rest the iron on its heel on the charging base, ensuring that the heel connector meets the charging base connector. Connection is made when the power indicator light on the handle illuminates. Wait until the iron reaches the desired temperature, then commence ironing. Throughout your ironing session, the iron MUST be replaced onto the charging base every few seconds or whenever you adjust your garments, to keep the heat topped up., 3) Temperature Selection Set the temperature dial to the temperature required (see 'Temperature Guide'). The temperature indicator light will illuminate red until the required temperature is reached, then it will turn green. NOTE: It is normal for the temperature indicator light to flicker between red and green whilst the temperature cycles up and down during charging. Tip: We recommend the temperature indicator light is allowed to cycle red and green twice before you begin ironing. The temperature indicator light and the power indicator light will switch on and off whilst you are ironing and replacing the iron on the base., 4) Switching on the steam If required, switch on the steam using the steam switch. The amount of steam is automatically adjusted to suit the temperature selected., 5) Using the water spray For stubborn creases, use the water spray button. If using for the first time, you may need to press this a few times to pull the water through., 6) Steam boost Press the steam boost button for an extra steam burst for stubborn creases / heavy fabrics. NOTE: For optimum steam quality, do not operate the shot more than three times in succession. See more |
| Special Feature | 11.84oz Large Capacity Water Tank, Adjustable Thermostat Knob, Auto Shutoff, Cordless, Self-clean Function Special Feature 11.84oz Large Capacity Water Tank, Adjustable Thermostat Knob, Auto Shutoff, Cordless, Self-clean Function See more |
| Special Features | 11.84oz Large Capacity Water Tank, Adjustable Thermostat Knob, Auto Shutoff, Cordless, Self-clean Function |
| Style | Modern |
| Voltage | 120 volts_of_alternating_current |
| Wattage | 1500 watts |
Trustpilot
2 months ago
3 days ago