


Breathe Easy, Live Smart! 🌬️
The CX1600 Gable Mount Power Attic Ventilator is a high-performance solution designed to enhance attic ventilation. Featuring a powerful 4.5-amp motor and capable of moving 1,600 cubic feet of air per minute, it effectively cools attics up to 2,400 square feet. With an adjustable thermostat and easy installation options, this ventilator not only improves air circulation but also extends the life of your roof shingles by maintaining optimal attic temperatures.
| Manufacturer | Ventamatic |
| Part Number | CX1600 |
| Item Weight | 12.5 pounds |
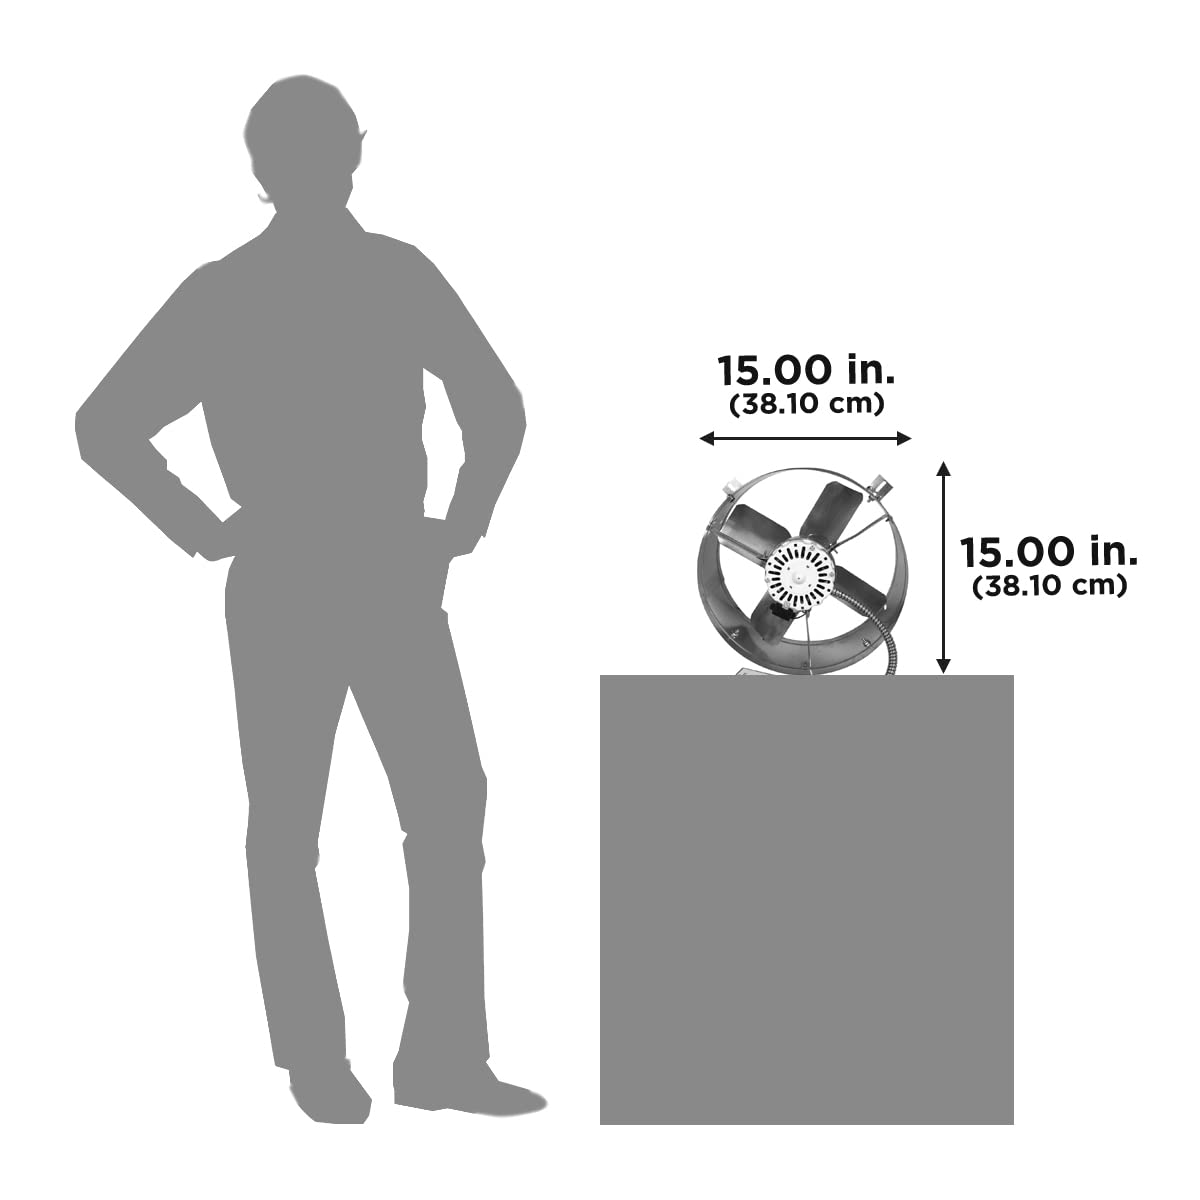
| Product Dimensions | 6.5 x 16 x 15.2 inches |
| Item model number | CX1600UPS |
| Is Discontinued By Manufacturer | No |
| Size | 1600 |
| Color | Orange |
| Style | Attic Ventilator |
| Finish | Brushed |
| Material | Alloy Steel |
| Power Source | Corded Electric |
| Voltage | 115 Volts |
| Wattage | 2400 watts |
| Item Package Quantity | 1 |
| Air Flow Capacity | 1.6E+3 Cubic Feet Per Minute |
| Blade Length | 14 Inches |
| Mounting Type | Flush Mount |
| Special Features | Bladeless |
| Included Components | Building Materials & Ladders; Roofing; roof-vents |
| Batteries Included? | No |
| Batteries Required? | No |
| Warranty Description | Two year limited warranty |
J**N
CX2500 - Excellent Fan
Works great. My bedroom temperature dropped by 2 degrees after 1 day of use. Clearly, my attic ventilation needed some powered help, and this did the trick.Pros:- Uses only 2.1 amps, which is a lower power draw than it's lower capacity siblings. Given my cost of $0.0995/kwh @ 12 hrs/day x 90 days a year (I am over-estimating usage here), this only costs about $20 a year to run. It also means that I could be saving $5-$10 a year over the higher amp models, so the upgrade will eventually pay for itself.- Easy enough to install.- Made "well enough". It's not rock solid, but given the choice, I would not pay more for higher build quality. It arrived double boxed, so nothing was bent. Once it's mounted, it's solid and sturdy.- Much nicer than what I saw in the big home centers, for less money.Cons:- I would have preferred a longer thermostat cable. As it is, there isn't really even an extra 2 inches. If your gable vent is 6 or 8 feet off of the floor of your attic, you will want to extend the cable so the temperature can be more easily adjusted.Neutral Comments:- There is no humidistat. You can buy a separate one if you need it, but I didn't.- It makes noise. I'm not going to call it "noisy", because I don't think it's louder than other options, but it just needs to be known. I can hear a hum in my bedroom (directly below the fan), but not in other rooms. I can also hear it while outside my house on the side that has the fan, but again, it's not distracting.Installation:- CX2500, with included mounting hardware- 2 ft x 2 ft 3/4" plywood square- Enough 2" x 2" pine boards to act as a continuous spacer between the plywood and the frame of the gable. This holds the fan another 1.5" or so away from the gable shutter. It's not necessary, but I figured being set back a bit would give me extra flexibility with how far I mounted the fan into the plywood hole.- 4 of the following: 1.5" bolts with the correct nuts and lock washers, 1" metal fender washers, 1/2" metal washers, 1" rubber washers, and rubber spacers. The rubber spacers were actually made for popping into a sheet metal hole to protect wires, so they are about 1/4" thick.- Wire, and anything else you need to hook up the electricity.I used the mounting hardware above so the mounts would be somewhat isolated from the plywood. The thicker rubber spacer sits between the fan L bracket and the plywood, acting as a cushion. The bolt + washer slides through, and on the back I use the big rubber washer, big metal washer, and nut/locking washer. I don't know how necessary it was, but it cost me $5 at Lowes and certainly won't hurt with reducing vibrations. If I installed a bunch of these, I might do a side-by-side comparison, but I did not want to spend any more time in my attic than I had to.I would also recommend that you do as much as possible outside of your attic. I had everything measured exactly, so I could do most of the work in my garage. I even pre-drilled my mounting holes and sunk the screws half way. This meant I didn't drop screws into 12" of attic insulation, or try to start a screw while holding up the rather heavy assembly.
M**A
Confronting but worth the effort
I’m very pleased with the fan. It seems very well built. It’s quiet and the thermostat works well. We’ve yet to see it perform in summer months but I’m assuming all will go as advertised.Out of the box I immediately noticed I would need to buy a suitable power supply cord to complete installation. The listing says “corded” which I interpreted as plug in ready. Not the case. The “cord” provided is 18” long metal cased. Containing the wires from the fan to the thermostat box. You are on your own to purchase a power supply cord. And to wire it in the thermostat box as well. Seems tricky. But not so much. I had never done anything like that before and I did it, so you can too.I also purchased a knock out box washer ring. I’m making that term up because I don’t know the technical name. But it’s a connecting metal washer set up that is placed in the thermostat box with pressure to prevent the power cord (you installed) from slipping out of the box and the wires disconnecting. You will also need to purchase a package of twist on wire connectors for safe wire to power cord connection.All said and done. It took about 30 minutes of doing and 2 trips to Ace Hardware. I spent about $20 in necessary extras. An electrician quoted me $200 to install, but she also encouraged me to watch a YouTube video and give it a shot. Which I did, but it is pretty straightforward. You may want to add a few screws for additional fan stability into the metal arms of the fan box. You’ll see what I mean once it’s installed and you test it.In addition to what comes in the box. You will need a power cord, 3 wire connectors and 2 small screws to attach the thermostat box to a stable (stud) location. You may also want to purchase the knock out box ring for peace of mind.Bottom line, it’s not as simple as advertised but still well worth the time, effort and extras. And if you’re a novice like me, you’ll feel great about yourself once it’s completed and working. It’s a good choice and good value.
M**O
Works well, even the thermostat that others have complained about.
Easy install, balanced running with minimal noise.The only thing I noticed about the thermostat, is the window for on/off is about 10 - 20 degrees. Its a mechanical one, so its not going to have the same resolution as a digital one. So, if you set it too low, it will never turn off if you attic never goes below your set temp. Best way to set it, is to wait for the attic to cool to the point you want as the lowest temp, and turn it down till it turns off. this is your new shut off point, anything lower will always stay off. it leaves quite a bit of headroom for turning on, so if you set to 65 degrees off, it will probably turn on at about 75 to 80. Perfect.
A**R
works well
if you need to pull air, this will do it.Too bad it doesn't come with a humidistat as well, that would be handy for winter/humid environments2018 - 2023 update:Unit is finally showing signs of failing after constant use for 5 years. Started grinding and making loud noises, looks like the motor is failing. Added a humidistat back in 2019, haven’t had to touch it since, attic has zero moisture issues even with the rainforest surroundings we have. Will be purchasing again and doing direct replacement.
D**L
Works well but somewhat noisy
Quality is mid-range, moves fair amount of air, but is noisy even with rubber mounts.
P**N
Perfect
Works great, easy to install, good price, came quickly.
S**.
Amazing product
I like everything about this product. It works, easy set up and it’s cooler on our upper floor. Very happy
Trustpilot
2 weeks ago
4 days ago