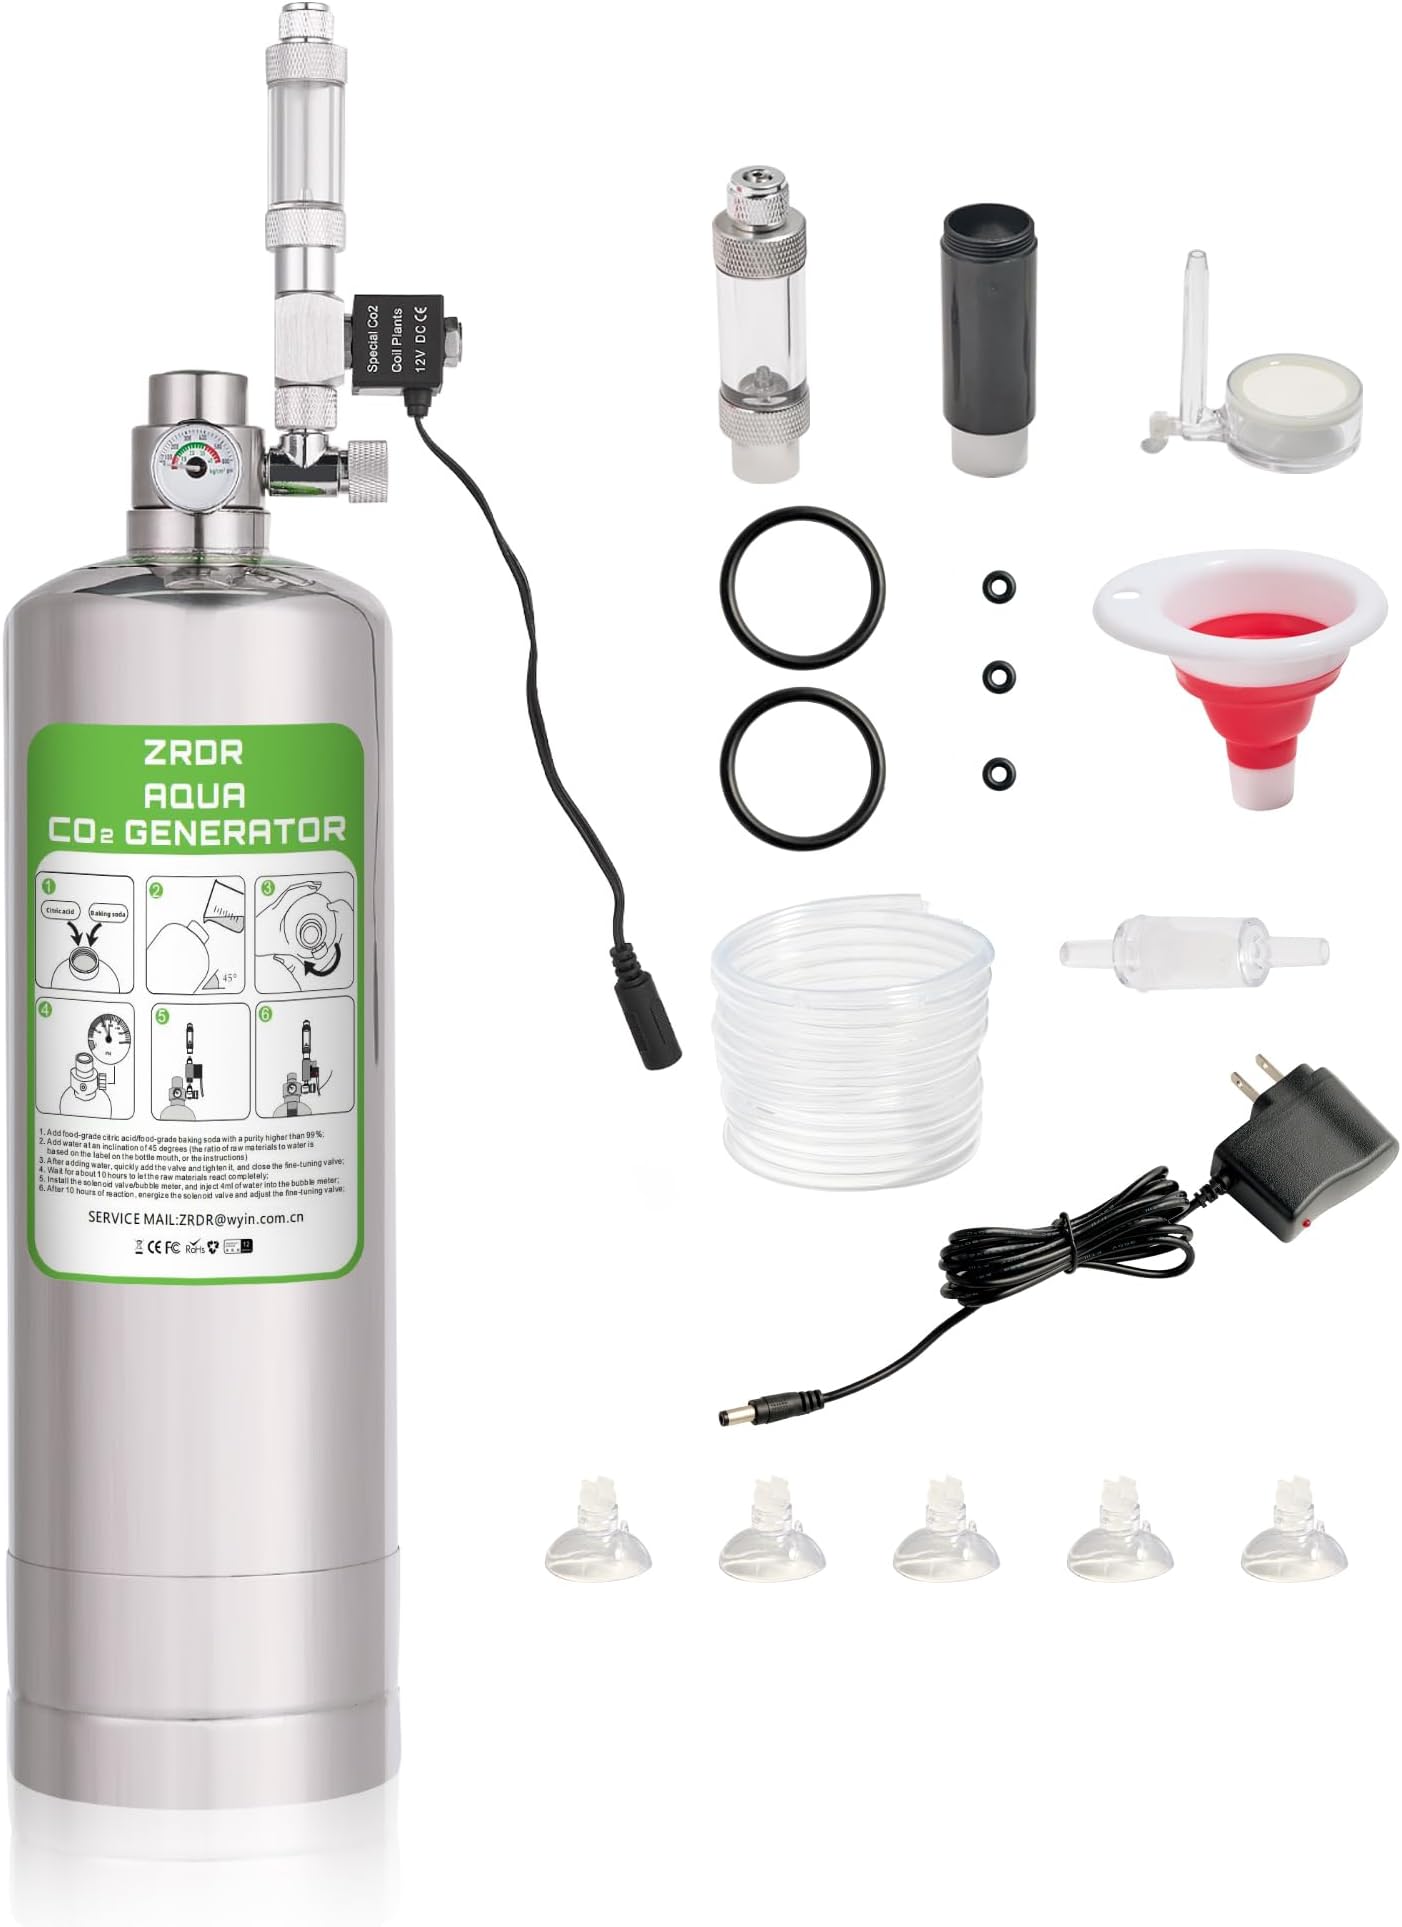
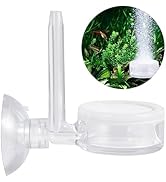
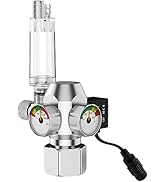
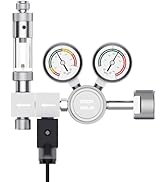
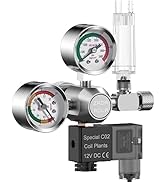
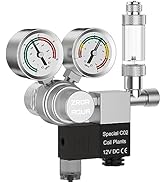
UPDATE April 24, 2021 - I have now been running this set up for a few months now and it is awesome. I change the baking soda and citric acid about once every 2 weeks. The output has been consistent and the issues I had at first with the gauge not showing accurate readings is no longer an issue. My plants seem to be doing really well. I highly recommend this set up and have changed my rating from 4 stars to 5.Original:Once set up, I so far have found this CO2 setup to be awesome. Here’s some tips from my experience, step by step:1. My cotton filter was already attached to an apparatus that looks slightly different than the one in the directions (part 3). My set came with a spare cotton filter also (part 4).2. Screwing the filter (part 3) to the valve (part 2) was easy in my experience. Just tighten as far as I could.3. Use the funnel and fill the tank (part 1) with ingredients. NOTE: 200g is 7/8 cups. I did about 3/4 cup each citric acid and baking soda, then 1 cup water. I will do 1 full cup each acid and soda and 2 cups water next time. I was short on supplies. Screw the pressure valve into the body as tight as you can (part 2 into part 1)4. My valve did not register any pressure to start. I waited a long time. Finally I gave up, unscrewed the top bolt above the gas output knob on the valve and heard air escaping. I knew then it was producing fine. I never reused this top bolt once removed.5. Connected the solenoid valve (part 6) and used the wrench (part 13) to tighten into place securely.6. I screwed the entire top ( smaller end with bolt) of the bubble counter (part 5) and filled 3/4 with water. Replaced the top of the bubble counter tightly and screwed the other side (bottom) in place tightly to the top of the solenoid.7. Removed bolt from top of bubble counter and slide end of rubber tubing (part 17 - “trachea” in instructions is tubing) they the home of the bolt. Then push the end of rubber tubing onto the top tapered part of bubble counter where the bolt was and re-screw the bolt on tightly to hold tubing in place. NOTE: The tubing is stiff and pretty hard to work with. I am considering replacing it with higher quality, more pliable tubing.8. Cut rubber tubing twice —Once about 4 inches from the bubble counter (save this 4 inch section for later). The second cut about a 18 inches long.9. Secure the check valve (part 12) on the other end of tubing that’s attached to solenoid (end with filter inside of check valve goes on this end of tubing) tightly. The loose 18 inch section of the cut off tubing gets secured in the other side of the check valve (open end of the valve with no filter).10. Secure the other end of the 18 in section of tubing to the u shaped tube (part 14). This part will go over the edge of your tank when you install it.11. Use your remaining loose 6 inch section of tubing and secure it tot he other end of the U shaped tube. The other end of that 6 each section secure your atomizer (part 15).The CO2 set is now ready to install. Put the base on the bottle (part 16) and put it wherever you plan on storing the unit. Secure the U shaped tube over the edge of your tank and use the suction cups (parts 11) to secure the 6 inch section of tubing between the U shaped tube that’s now over the edge of your tank and the atomizer into place inside your tank under the water.Plug the solenoid connection valve (part 8) into the solenoid, then the power supply cord (part 7) to this.Once everything is in place, plug the power cord into your outlet to power the solenoid on.VERY slowly turn the gas output knob on the pressure reducing valve (literally a hair width at a time) until you reach the goal of one bubble per 10 gallons every 5 seconds or so. This process took me a while to adjust but once I had it set it’s stayed put.The set up day my pressure valve showed no pressure. The bottom of the stainless body got very cold and my bubbles were producing a set count so I knew it was working fine. Figured the valve was faulty. The next day though it reached 10-15 or so in the green range.I plugged my power plug into a wall timer and set for 8am to 6pm. Takes about 30 min in the morning for it to fully come back up to pressure. It is very consistent so far throughout the day.Also, I agree with other reviewers that the solenoid does get quite warm. Mine doesn’t get HOT as others have described but it is pretty warm to the touch. I will be keeping an eye on it as well as the bubble counter evaporation.Last note: the first set I received was missing the u shaped tube, suction cups and the replacement filter cotton. I contacted Amazon and the provided a replacement which was fine. I sent the first incomplete set back for a refund.The missing parts, minimal instructions and questionable valve readings are the reason for only a 4 star rating. So far so good though. I will update if anything changes. I do recommend and hope these more detailed notes will help explain the set up process better than the minimal instructions that are included with the kit.