Desertcart purchases this item on your behalf and handles shipping, customs, and support to South Africa.
โจ Transform your garage into a showroom masterpiece ๐
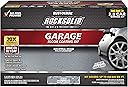
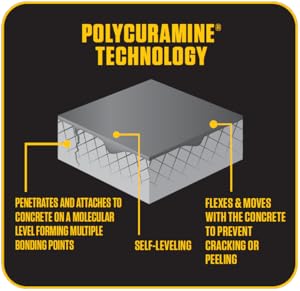
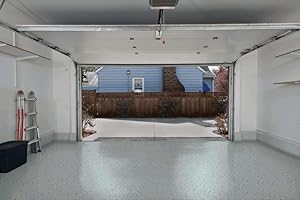
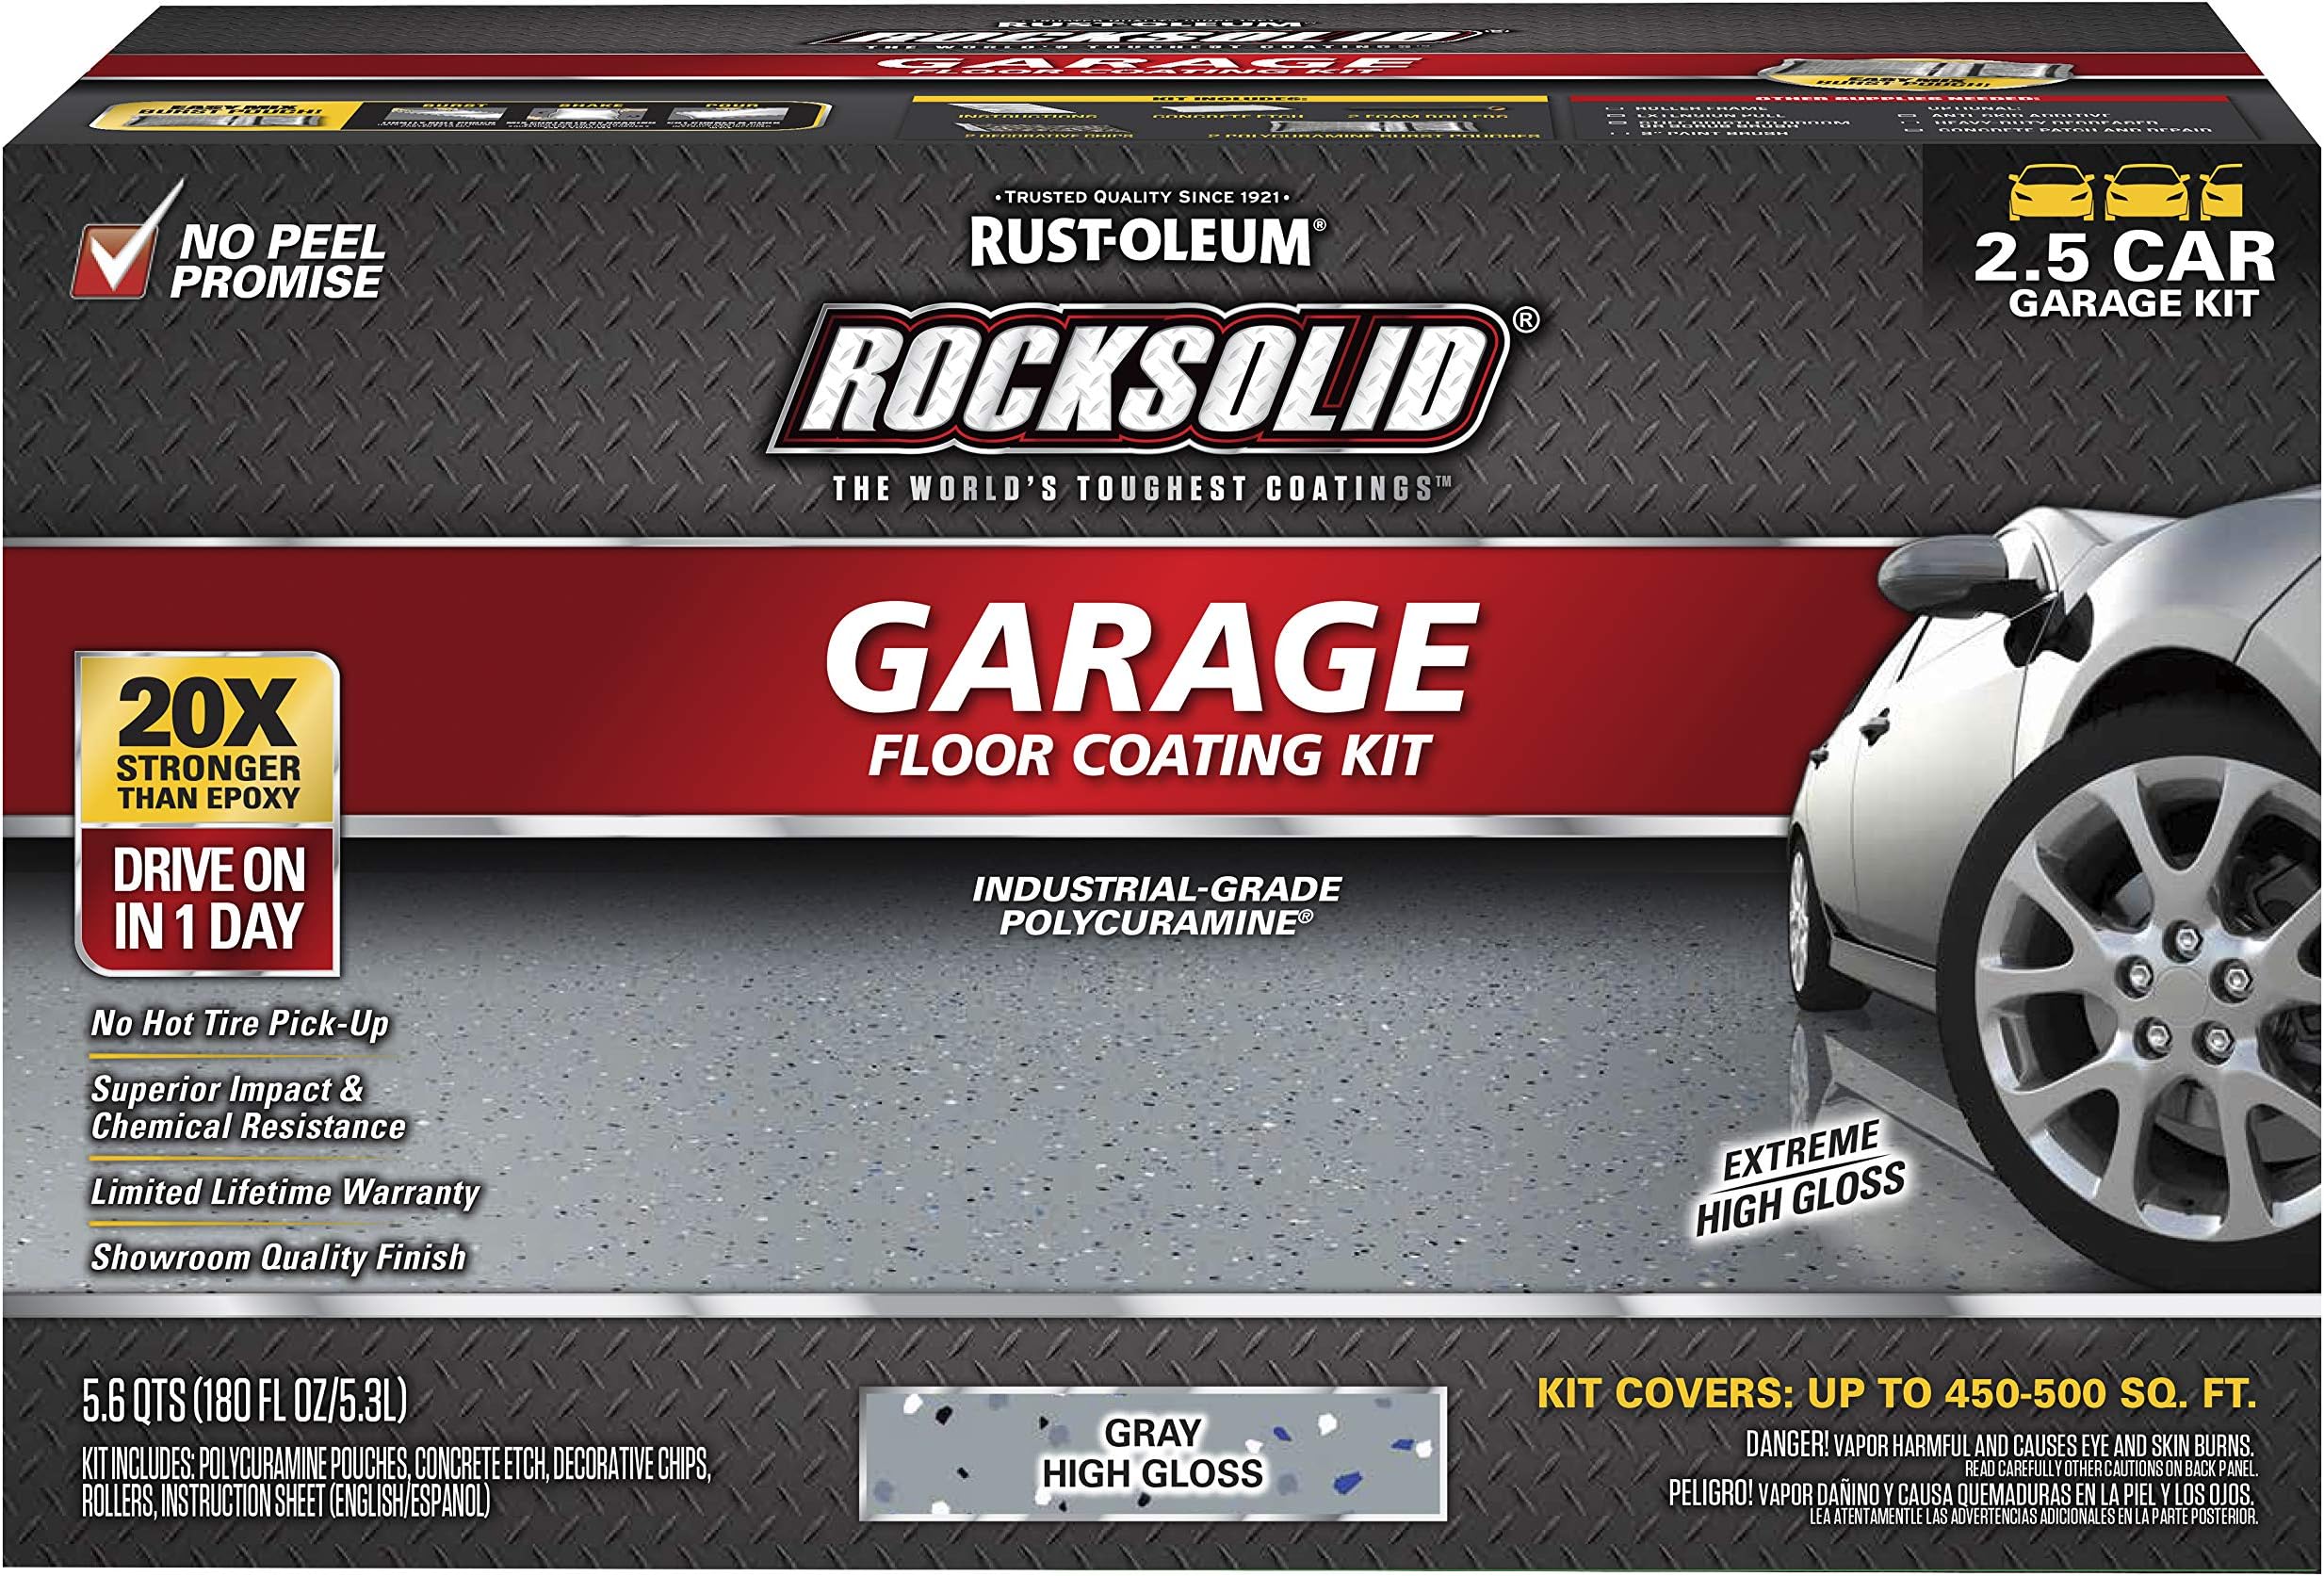
Rust-Oleum RockSolid Polycuramine High Gloss Gray Garage Floor Coating is a premium, ultra-durable concrete coating designed for interior floors. Its patented two-part polycuramine formula is 20 times stronger than epoxy, offering a high-gloss, terrazzo-style finish that resists chemicals, cracking, and hot tire pickup. With low VOC and low odor, itโs safe for indoor use and walk-on ready in 8-10 hours, covering up to 500 sq. ft. per kit for a fast, professional-grade floor transformation.


| ASIN | B06XJ17JVD |
| Age Range Description | Adult |
| Brand | Rust-Oleum |
| Brand Name | Rust-Oleum |
| Color | Gray |
| Color Code | 000000 |
| Colour | Gray |
| Container Type | Pail |
| Coverage | 500 square feet |
| Customer Reviews | 4.0 out of 5 stars 1,548 Reviews |
| Dry Time In Hours | 24 |
| Finish Type | High-Gloss |
| Finish type | High-Gloss |
| Full Cure Time | 24 Hours |
| Global Trade Identification Number | 00020066309787 |
| Included Components | (2) Pre-Tinted Polycuramine Burst Pouch, (2) Foam Rollers, Concrete Etch, Decorative Chips, Instructions |
| Indoor Outdoor Usage | Indoor |
| Is Waterproof | True |
| Item Form | Liquid |
| Item Type Name | Garage Floor Coating |
| Item Volume | 180 Fluid Ounces |
| Item Weight | 15.8 Pounds |
| Item volume | 180 Fluid Ounces |
| Manufacturer | Rust-Oleum |
| Model Name | Rocksolid Polycuramine |
| Model Number | 293513 |
| Paint Type | Specialty |
| Part Number | 293513 |
| Size | 2.5 Car |
| Special Features | Washable |
| Special features | Washable |
| Specific Uses For Product | Interior/Exterior |
| Surface Recommendation | Floor |
| UPC | 020066309787 |
| Unit Count | 180 Fluid Ounces |
| Water Resistance Level | Water Resistant |
M**I
Use Double the amount of Product to get a beautiful result. Divide space by the number of pouches
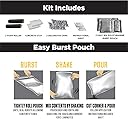
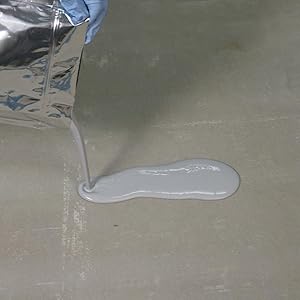
I, like everyone else, researched this process for weeks before deciding on the Rest-Oleum Rock Solid Garage Kit (the 20X version) in light gray. After reading many many reviews about the problems where people ran out of product or the coat was too thin or they could see color of the concrete below due to being too thin of a coat, rollers falling apart etc., I decided I did not want those issues so I started doing some math. My 2 car garage is exactly 410 Sq feet. There are a couple of nooks so it is not exactly square but I meticulously measured everything to make sure I had exact sq. ft. numbers I was trying to cover. From the comments of others, I deduced I would need two full 2.5 garage kits (4 burst pouches) to get the coverage I wanted. Preparation was a bear for me. The concrete is almost 60 years old and there were plenty of cracks and a lot of the rocks in the old cement that were just under the surface popped so I had significant pitting. They must have used a percentage of an inferior type of stone that was black and very soft. When I was doing my prep, the pitting was all because of these softer stones that seemed to have just turned to a black dust when I scraped during my process of fixing and leveling. To make matters worse, 20 years ago, I used an epoxy paint so I had that to deal with. I did not want to go thru the process of grinding the entire floor so I used my portable hand grinder with a grinding wheel and then really tuff sanding disks (about 40 grit I would say) to grind out the cracks and pits as best I could. I used self-leveling cement primed with the Self leveling solution that is supposed to help the cement adhere to existing cement in the cracks and pits then sanded that cement work when it dried using the grinder to get everything level. Perfect is the enemy of good so I decided I would use the Rust-Oleum Re-Coat Primer, to save time. I degreased the rest of the floor with Simple Green and got on my hands and knees and scrubbed the heck out of it hard with brushes and sponges to get every trace of dirt, spider poops, any oil etc. off. When I was satisfied with the cleaning and restoration, I used about 1.75 gallons of the Re-Coat primer and followed the instructions and let that dry overnight. In my mind I wanted to use 100% of the 2 Epoxy Kits that I bought the next day. I wanted a surefire method to evenly coat the floor with my 2 kits so I used a pencil to split and clearly mark my 410 Sq ft int 4 exact 103 Square foot sections. My thinking was I would use 100% of a burst bag in each quadrant area. This worked great for me so you might want to consider doing something similar. I used the foam rollers that came with the kit and had no trouble with them. In fact, I used the same roller for all 4 burst bags with no issues until literally the last 3 square feet where it started to come apart but it finished like a champ. That roller gave its all for me. I had gone out and purchased a 3 pack of top quality purdy 3/8 inch nap rollers just in case the foam rollers were really the disaster everyone claimed but I never used the nap rollers but I will for future painting projects. In my case the temperature was about 55 degrees so that may be why the epoxy never even came close to getting tacky. I used a 2 ยฝ inch brush to cut in the edges. I basically followed the Video instructions, kneaded the burst bags for a good 3 minutes, cut the pouch corner and poured directly from the pouch in 2 or 3 inch ribbons. The rollers basically pushed around a โpuddleโ of Epoxy. It filled in 95% of the imperfections as I went and used up the entire pouch in that 103 square foot section. As I was rolling my goal was to do more pushing and pulling of the puddle than โpaintingโ and there was no roller noise one gets when painting say a wall where you hear the paint โrippingโ off the roller. It was mostly silent so keep that in mind. I was not sure how heavy a flake I wanted but I did read this stuff is not designed for a full flake or even a heavy flake but I was clueless how much I would actually need and the last thing I wanted was to run out of flakes and have 80% flaked one way and the remaining looking like I ran low etc... So I purchased 2 more pounds of the Black and White flakes, took all 4 bags of flakes from both kits and emptied the blue and grey chips from the kits and my black and white extra chips and mixed them all together in a 12 x 12 box. So my flake is a custom blend of the kit flakes with the black and whites mixed and its awesome. I think each blue flake bag in the kit was ยฝ pound so I had a total of about 4 pounds of flakes total to use. I ended up with about 3/4 pound extra at the end and I got the exact flake density and colors I wanted as I went. For me, since the air temperature was on the lower range for the application it worked out pretty good. I got a nice slow cure. For a hot minute I actually got a bit nervous it was not going to cure correctly. I finished at 6 PM and checked it after 2 hours, 4 hours, 6 hours and even at 6 hours it was still like I just rolled it out so I was having a heart attack something went wrong. I went to bed and the low temperature that night was 49 degrees and got up and checked it at 8:00 AM (14 hours post completion) and it was still slightly tacky but firming nicely. Certainly, no way was I going to walk on it per Rust-Oleumโs claims of walking on it in 10 hoursโฆ No way for me. It warmed up to the mid 70โs during the day and by about 11AM it seemed much firmer but I could still take my fingernail and push into it and it was soft yet. By 4 PM it seemed set up pretty good. I made the mistake of walking on it with my socks and I noticed that the moisture from my feet was actually leaving like ghost prints on the shine and I have about 3 foot prints where the gloss is slightly marred with the outline of my foot and toes. Fortunately, I detected this right away and let it cure overnight again in the warmer temps before messing with it any further. Next day it was truly โRock Solidโ this stuff is tuff as nails hard and you cannot even scratch it but donโt under estimate cure time in cooler conditions or you will damage all your hard work. I think it turned out awesome and I enclosed a couple pictures. The wife and I had two other couples over last night for dinner and everyone was in awe of my project. I can truly say this is one of the most satisfying projects I have done in a long time.
F**O
Good product, lots of preparation is necessary
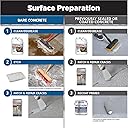
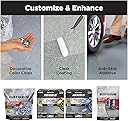
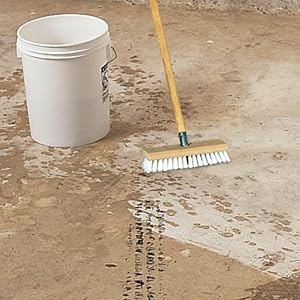
I give this 4 out of 5 stars only because I believe Rust-Oleum should provide 10% more epoxy in these bags to ensure coverage is possible for the suggested area. The finished product is very nice. Shipping was very fast and at $167, this is the cheapest price Iโve seen yet for the 2.5 car kit (normally $214 in my local stores). There are tons of videos and explanations on how to apply epoxy floor coating, but I wanted to share my experience as well in case something I did differently might help someone else. This is my third time using this product specifically and I wanted to pass a long some of what Iโve learned so far. Before beginning, check all your supplies. The kit should come with two bags of epoxy sealed ( I have purchased these where they bags are slightly leaking, make sure to return and get a new one if thatโs the case), two rollers, two bags of flake coloring and two bags of floor etching. If youโre using a clear coat be sure to check that kit as well. Sometimes items will be missing from kits or the contents will be damaged. 1) vacuum the floor/cracks and wipe any easily removable contaminants from the floor before etching the concrete. prep is key! I did not use the acid etching method for my floor, since Iโve heard mixed results on that. Instead, I prefer to use an angle grinder with a 4inch cement grinding blade and a dust shroud with shop vacuum attachment (see pictures). The first time I did one of these floors I used a big floor buffer and was never able to grind through everything (oil spots), couldnโt get in the corners, and even with the shop vacuum attached to the floor buffer it still created a lot of dust. For the rental fee of the floor buffer you can own an angle grinder with all the necessary attachments (minus the vacuum probably). The dust shroud I used on the angle grinder really does capture 99% of all dust as advertised and it took me 4-5hrs to angle grind one garage spot. Aim for the same whitish color everywhere on the the cement after grinding; any dark spots indicate an area that might have had an oil spill or other contamination and you should do your best to remove this dark area. 2) check floor temperature using an infrared laser thermometer. Harbor freight sells these for $18-60 typically depending which one you want. See picture. Be sure the floor temperature is above 55F is my suggestion. Some people might feel comfortable with lower temps but it will slow or even stop the curing process depending how low the temperature is. I have a garage heater I used to help control the temperatures for this job. Ambient temperature was 74F while the coldest spot on the floor was near 65F for reference. Outside the garage was near 40F. Humidity should remain below 85% according to Rust-Oleum; mine ranged 61-72% from what I saw. 3) use the Rust-Oleum Concrete Patch Repair kit epoxy. It comes in a small whiteish box and you can see how far one 24oz kit went in the photos Iโve uploaded. I mixed this epoxy with a putty knife in an old shoe box and used that as my trough for the mixed epoxy while I moved around the garage. If I had wanted to fill all the cracks between the cement slabs for this one garage spot I probably wouldโve needed 3-4 more kits. This crack filler product does a great job, but at $1 per ounce it is expensive. I filled cracks up to 1/2 inch wide and deep for this particular epoxy coating and did not fill the cracks between the cement slabs to save some money. (Filling cracks prevents wasting the floor epoxy which will flow into cracks very easily.) Once the filler epoxy has hardened (~8-20hrs depending on your conditions) be sure to grind the filler epoxy to level it out and also to rough it up so the floor epoxy will stick to it next. 4) vacuum the entire floor area to be coated. I used a shop vacuum with squeegee attachment then a Dyson house vacuum with the motorized head to scrub the concrete pores. 5) wipe the entire floor with acetone and some rags. Iโve found this can pick up additional particulate that the vacuum misses. I allowed the acetone to dry for 12 hours with fans running while looking for any dark spots in the cement (wet) before continuing. If you note a lot of moisture in your cement you may need to perform additional sealing of the concrete before epoxying the floor (see Rust-Oleum moisture stop). Water seeping in to the concrete from the underside can cause the floor epoxy to peal up over time and even to crack the concrete. To determine if thereโs a moisture issue, Rust-Oleum suggests using a piece of plastic taped to the floor for 24hrs to see if moisture builds up under the plastic. 6) prepping the epoxy... make sure to have your paint roller ready and colored flake accessible. Before breaking the seal between epoxy A and B sides, I mixed around the contents of each separately in case they had become separated or built up in one corner inside the bags (these can sit on the shelf for years in a store). Then, on the floor, slowly roll part A side of the bag (like youโd roll a sleeping bag) toward part B and you should feel the seal in the middle โpopโ open and both parts will begin mixing. Very important to mix for the suggested minimum time 3-4 minutes... I add one extra minute of mix time to be sure. Roll the bags around, press the edges, do your best to make sure parts A and B are completely mixed together. 7) Start at the furthest point from where you plan to exit the area after coating the floor. Cut the corner of the bag off to allow a small opening to pour from. Pour a line of the epoxy three fingers wide a few inches from the wall. I worked from the back of the garage to the front so I was doing 10ft wide sections at a time. The roller will absorb a bit at first, but then will act more like a squeegee pushing the epoxy around. Avoid pushing any epoxy into deep cracks as this will waste a lot of material. Attempt to keep the same thickness of epoxy in all areas of the floor to avoid discoloration. I was able to complete one 10x20 foot garage area with one bag of epoxy, but I note it appears thin in a couple spots (different color grey finish when dry) due to thin spots most likely. Unfortunately, I believe for perfect coverage, 2.5-3 bags are needed in a 20x20 garage depending on how many pours and pits the concrete has. If you want the color flake, I suggest laying 4-5 feet of epoxy on the floor in front of you, then throwing the flake (throw up and let it fall on the epoxy rather than throwing down. It will disperse more evenly this way) 8) leave the garage closed and check back in 8hours. If it is still tacky (not gummy) then check back in another 4-5hrs. I had a little on my paint roller still so I was able to check that for tackiness before I went back to the garage (trying to keep the heat in the garage). After 12hrs my epoxy was hard enough to walk on. I crawled around and used my hands to search for any sticky spots at this point. The first time I used this product I believe it was not mixed long enough before applying and/or the floor was not completely ground down and the epoxy did not cure in 60% of the floor. We had to use grinders and acetone to remove this area and then grind/rough up the cured spots before applying a new coat of epoxy. 9) once the epoxy is cured, I chose to add the Rock Solid clear coat for added strength/durability. Since the cement has been coated the pours are sealed and one bag of clear will cover a 20x20 garage floor nicely. After mixing the Part A and B for the clear, I decided to add the provided anti slip additive. I cut the top of the bag open completely and poured in the additive. I worked it around in the bag a bit before starting to pour it out around the floor. Be sure to continue to stir the additive as youโre pouring, or it will all settle to the bottom. Similar to laying the first epoxy coating. Note, This will spread much easier over the already epoxied floor, so you donโt need to pour as much out as you did initially when coating the floor. 10) wait 8-12hours and check back on the curing floor. Solid is goo, tacky is okay, gummy might 11) I wait a full weekend before moving everything heavy (tool chests) back on the floor just in case some spots are still curing. Good luck! EDIT: if you are applying the Rock Solid Clear, I have recently found better results to throw the anti slip additive on the floor (similar to throwing the colored flakes) rather than adding it to the clear epoxy while itโs in the bag. This prevents clumping of the anti skid material when the clear coat hardens.
M**Z
Excellent Product
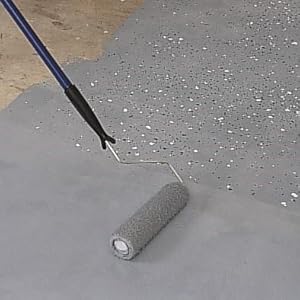
First amazon had the lowest price around (when did this stuff get so expensive eh?) so good value. First time use... applied to a new concrete floor so I just cleaned first and applied direct (a primer might work but I wanted the product to adhere direct to concrete). Pretty easy to work with- I used an extended painter's pole with a roller (rough surface type). While you have to work pretty fast due to curing you also need to work slow to provide the right coverage- after a few small areas I got a better handle on "product thickness" to provide for seamless coverage. I was worried about coverage as my garage was about 370 sq ft. (plus worked well on a wooden step to house) but I just got the right amount to last drop. I would think that for an older garage floor you will end up needing more product. Total floor only took about 3 hours- my garage was in two segments which matched the product perfectly- make sure your joints get filled in during application. For any spotty areas I just touched about with a matching floor paint (very small quantities) I did not worry about pre-painting edges with smaller brush (as recommended in several YouTube "how to" videos- I thought that would take too much time and my garage walls are off the floor a bit and same color. I used a matching flakes (white-black-gray) bought elsewhere (did not like the blue- personal taste) that worked and looked awesome- now my personal taste is a little heavier on the flakes side (then the amount provided in kit) but you need to be careful not to over apply as the floor will get a little clumpy and extends the curing time. I had extra flakes product that I was able to blow out but still had some pieces carry off on shoes etc. for a few months. This product is WAY better (they say 10x- but I think more than that) vs. the base product (epoxy). I've installed probably 8 different flooring coatings in my life and this was my best experience. Very easy to clean and Again need to work slowly and deliberate but don't over apply- product applies dark first and then lightens up quite a bit when cured- final product will be very "shiny" in appearance. This project saved me over $1,800 from a contractor estimate with 1 year warranty. Hopefully this was last for several years...held up excellent now for 9 months. Highly Recommended for do-it-yourselfers
G**X
Really impressive results, two bags in each 2.5 kit
I found this Poly really impressive and it gave fantastic results on a 23 x 30 garage. Two-thirds of the garage has smooth concrete and the other third was an addition that was not finished smooth. The instructions are very good, coverage was as expected and the kit is very complete - 2 bags of Poly / hardener, 2 bags of citric acid etch, 2 foam rollers, and 2 bags of flakes. Although some recommend 2 people, I easily did it alone in about 30-35 minutes. But the pre-cleaning takes a lot longer. CLEANER - I used their cleaner for the smooth part and it worked well. For the smaller part I used TSP which I believed works just as well, is cheaper and easy to find. ETCHING - I first was going to use muriatic acid but the instructions strongly warned against it. Instead the 2.5 garage kit includes two packets of a citric acid etch which was impressive and highly recommended. The powder it creates takes a lot of cleaning though. CRACK filler - I bought their epoxy filler and it is good stuff. But I found it was better on big cracks and not so effective on hairline cracks. The Poly coating will NOT fill in even the tiny hairline cracks. I used a tube of self-leveling sealer and found it worked better than the epoxy filler - BUT you must let it cure for 7 days or else you'll get bleed through. I laid the Poly down in two sessions - one 2.5 kit for the larger smooth concrete and a second 2.5 kit for the rough. I coated the first 452 ft^2 in about 35 minutes working alone. There are plenty of flakes and enough Poly. I tried both the foam rollers and some microfiber ones and found them about even with a slight edge to the microfiber. I rollered the stuff too thin to start but adjusted to a fuller coverage. The smaller ~10 x 23 area of rough concrete took a full 2.5 kit. I rollered one coat with one of the two bags in the kit, let it set for 3 hours and then laid the second bag. Worked well. Again, plenty of flakes were provided. For rough concrete you must assume double the amount of Poly.
Q**2
Great product but it took 4 times their claims
The product is fantastic but....the coverage claims are bogus.. I had a garage built last December with new concrete. I did the following. building. Steps I took- 1.) Ground the 676 square foot pad in January 2023 (Brand new pad) 2.) Did a moisture test, there was a minimal amount so I bought Radon Seal to seal the concrete in January. After I Radon sealed and waited per the manufactures instructions I waited 10 days. 3.) After waiting 15-20 days I ground the concrete again with a concrete grinder after the Radon concrete sealer 4.) I did another moisture test for 72 hours and there was no moisture. 5.) After a number of days Then I used Rustoleum recoat primer this coated well, no bleed through. 6.) 24 hours after putting down the recoat Primer I installed 3 kits of (2.5 car) Rock solid polycuramine, put down the flakes.I had 6 kits, one kit was leaking right away then I opened up two more kits applied those and the third kit I didn't see leaking till I opened it up, I put it in a plastic bag after taking a picture and opened a 6th kit 7.) After that cured for a number of days I used a 4th kit to complete the side of the garage that I had stuff in. Overall I bought 6 kits. Took 4 kits to cover and two were leaking. I watched youtube videos, followed all the instructions, more than did what I was supposed to. The 4 kits covered it well but just keep in mind I finished the project and didn't report the under coverage till after the fact. Attached is a printout of this claim with the completed project. On a side note, I am very happy with the product, it looks really good, seems very solid. The issue I have is it took 4 boxes to do a 2.5 car garage when as advertised it should have taken one box. Even if you account for my putting it on a little heavier (which I didn't) maybe two boxes but to have to keep buying more boxes on multiple orders I mean it was spreading so little that I thought it might take 6 boxes. I didnt ask for a refund for 5 boxes I just wanted a refund for the two leaking ones and the 2 of the 4 kits it took to cover a 2.5 car garage. Anyway, great product but WAY WAY WAY underestimated the coverage. The concrete had a plastic vapor shield installed before they laid the concrete, I tested it, grinded it, vapor sealed it, grinded it again, primed it and it still took 4 kits and 2 additional kits leaking. So that is a bummer and very frustrating. Again, love the product but don't love the leaking material or the massive amount of polycuramine it took. I mean I prepped way better than almost anyone I saw on Youtube or what your website says. It is adhearing perfectly to the floor, no issues there, no bubbling and the garage is a closed up and heated space. I would recommend the product but not the coverage claims. Rustoleum is planning to refund me for two leaking kits and some of the undercoverage but they need to update coverage claims. Basically 1 kits covers less than 200 square feet. Product looks great and I did put the clear rustoleun sealant with grip infused and it covered fine, primer covered fine. I would buy again of they update their claims of coverage just so people know what its going to take but it looks and performs well so far.
Trustpilot
3 weeks ago
1 week ago