Desertcart purchases this item on your behalf and handles shipping, customs, and support to South Africa.
⚙️ Master your motor’s speed and direction like a pro—because your projects deserve precision.
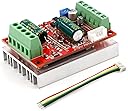
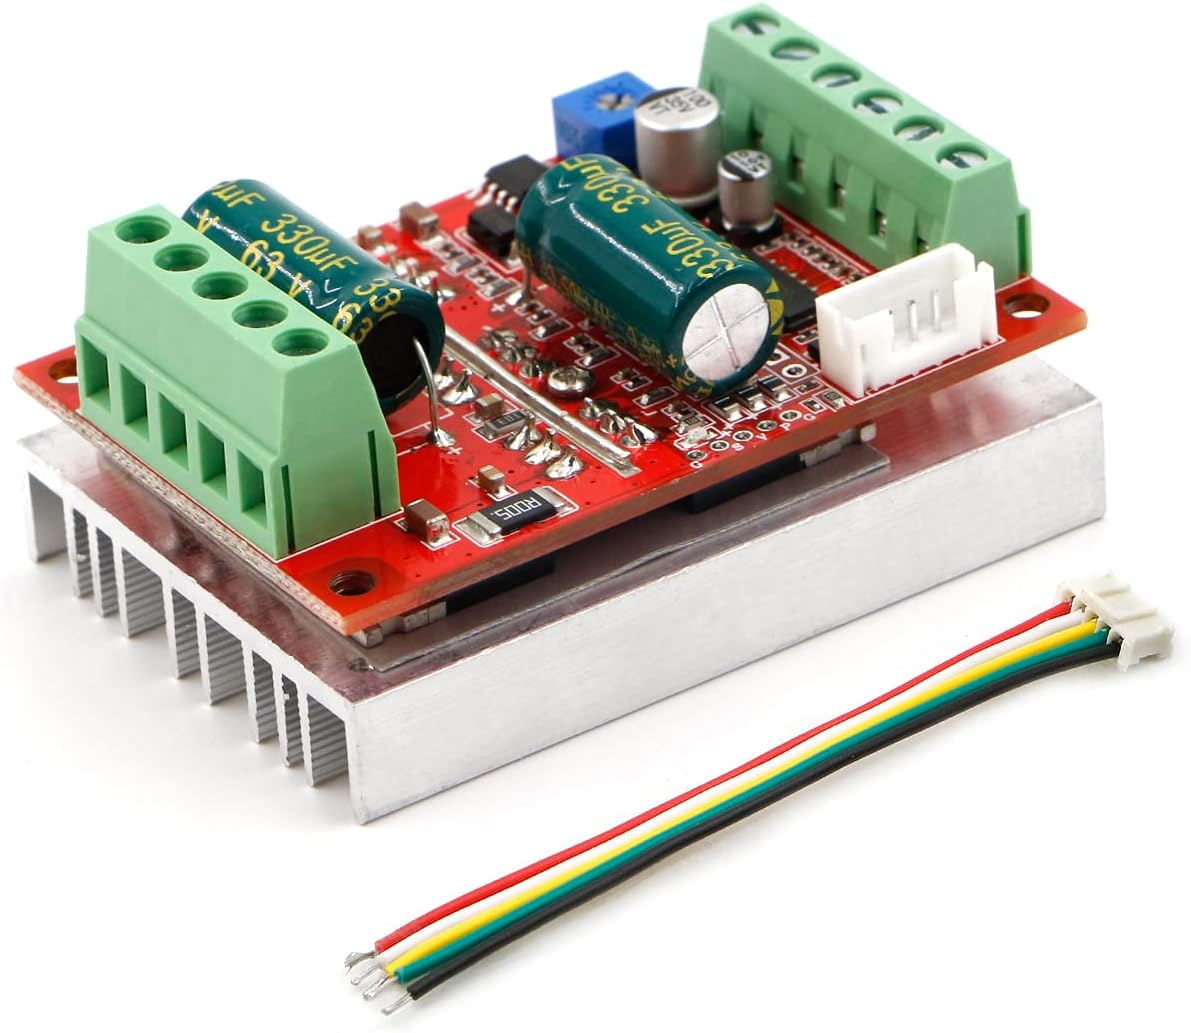
The RioRand 350W 6-60V 3-Phase PWM DC Brushless Motor Speed Controller with Hall Sensor is engineered for 120° electric angle brushless DC motors. It delivers up to 350W peak power with 16A continuous output, supports versatile speed and direction control modes, and features built-in heat dissipation and overcurrent protection. Ideal for DIY robotics, electric tools, and industrial automation, it offers reliable, precise motor management with easy wiring and troubleshooting.


| ASIN | B087M2378D |
| Best Sellers Rank | #55,636 in Industrial & Scientific ( See Top 100 in Industrial & Scientific ) #26 in Motor Speed Controllers |
| Brand | RioRand |
| Brand Name | RioRand |
| Customer Reviews | 4.2 out of 5 stars 338 Reviews |
| Horsepower | 350 watts |
| Included Components | controller |
| Item Weight | 77 g |
| Manufacturer | RioRand |
| Material | Iron |
| Material Type | Iron |
| Model | KJL-01-with-Hall-Sensor |
| Model Name | KJL-01-with-Hall-Sensor |
| Number of Items | 1 |
| Part Number | KJL-01 |
| Speed | 6 |
| Voltage | 60 volts |
| Wattage | 400 watts |
J**E
Wire it correctly.
Product came quickly. Potentiometer included. Works as it described. Make sure not to cross polarity. When connecting device. Thank you
A**R
Reverse direction works if phases are correct.
So far it works well. I need to address the direction control on the Hall model. The motor will run in a couple different phase wiring orders, if you have it in the wrong order the reverse direction switch does not work. Once you fix that, it reverses perfectly.
J**N
Good controller, with a few gotchas
This controller ran great out of the box for me. It drove a 24V 6A motor with ease. No heat issues and high torque. If you're going to use the PWM mode to control the speed, make sure you remove the jumper next to the speed pot on the controller board. If it weren't for a couple of gotchas, I would have given it 5 stars. Gotchas: The controllers power down in PWM mode after a few seconds connected to +5V power, and then they don't re-enable. It seems that the PWM channel is very sensitive to noise and so something causes the controller to shut down. I could "wake" it back up by wiggling the wire connected to the +5V power to the controller. If you are using an Arduino, instead of connecting the 5V terminals on the controller to a +5V power source, connect it to one of the Arduino's digital pins instead. These pins are at TTL logic levels (+5V) and they provide enough power to supply the logic on the controller. You can then toggle the pin on and off to enable and disable the controller. When the motor is stopped or you want to stop the motor, set the pin to LOW so it clears the controller of any internal shutdown mechanism. When the motor needs to move, set the pin to HIGH and the controller logic will power up and resume. The brake isn't really a brake. It just cuts the power to the motor and has no holding torque. There's no power that goes to stop any momentum from the motor, so the motor stops itself through friction. This is way cheaper than a lot of controllers out there and I think it's a great value for prototyping mechanical setups without having to spend much money!
T**C
Blew out the motor on my Ego blower, but was my fault Works!
used to power an ego blower. It blew out the Ego fan motor but prob because I had it wired to run at full blast with trigger pulled (basically turbo mode) all the time. And I was using it as such. whereas the ego setup only lets you run turbo for a little bit before it throttles back, so prob why it burned the motor out. Otherwise it worked well for Ego blowers and you can use it for that. I did swap capacitors for higher voltage higher capacitance ones.
E**C
perfect for Ego 56V 650cfm blower
used an excellent guide from "thrifty tool shed" on YouTube for this retrofit. I mounted mine a bit differently and used a reemer to create a few small vent holes for the heatsink. I also had to file a little off the corner of the heatsink to make it fit where I put it. There are some plastic "ribs" that need to be cut out as well as one screw mounting hole trimmed to clear a capacitor. I only retained use of the side knob and main trigger, no need for the turbo button. I also added a 20A inline fuse. the response takes a bit more trigger travel to kick the motor on, but max speed is still there. worked absolutely amazing for drying my car and blowing leaves. No issues with heat so far and after using it for 20min non stop full blast, battery light still at max bars. this is a very cost effective way of fixing a broken Ego 56V blower, as long as you can solder and make a few plastic and filing tweaks you're good to go.
F**.
Reverse/Forward doesn't work.
The motor is spinning just fine; however, you can't change the spinning direction. The motor is humming and doesn't spin when you activate the DIR terminal by shorting it with GND, as the manufacturer suggests. As an electronics engineer I tried everything, but no luck. I tried to talk with the manufacturer, but they kept sending the same information mentioned in the product description.
C**T
PWM does not work
I bought two of these. One works fine. The other one, PWM does not work. Unfortunately I bought this last year, but just doing the project now. I am assuming if RioRand is reading this, I lost my support? Or replacement window?
B**T
Worked great for me, but WATCH OUT - many questions/answers are for another product
Note - many of the questions/answers displayed for this item are actually for the Hall Sensor version so please be careful and don't assume all those answers apply to this module. This listing is for the "Hall-less" version, meaning it's for controlling a 3-phase DC motor that only has 3 wires and does NOT use hall sensor monitoring. Some errors I noted in the Q/A section: - some Q/A indicate the module has "soft-start" - it does not, but see my easy hack to add it below* - some say to "remove the jumper" to use the external analog speed control - there is no jumper on this module, just be sure to set the on-board speed pot to zero (full ccw) - some say this module will not work with a Hall-less motor - that is WRONG, it is specifically designed to work with hall-less motors. - there are several different wiring diagrams shown in the listing, but the one that has pictures of the motor and power supply is what I used and seems to be correct. I used this controller to operate the fan motor from an EGO leaf blower that was trashed because the internal controller died. My fan motor has 3 leads - red, blue, and yellow, which connect to the controller terminals red to red, blue to blue, and yellow to green. I'll use this fan blower with some 18v cordless tool batteries as a sweeper in my shop and patio, and 18v yields plenty of air flow for that purpose. * I made a simple modification to perform a soft-start function, using a 470uf capacitor and a 1k resistor (see photo and video). Some experimenting proved that the external potentiometer speed control reaches maximum motor speed at about 4.6v, which can be achieved by placing a 1k resistor from the 5v terminal to the analog speed input. By adding the capacitor, the voltage on the speed input slowly rises when power is applied, so that the motor speed ramps up from zero to full speed in about a second, greatly reducing the strain on the power supply, controller, and the motor. If you want a slower start-up you can increase the size of the capacitor, but leave the resistor at 1k. If you increase the resistance above 1000Ω the motor will never reach full speed.
C**G
Well built and easy to use.
These motor controllers work well with big DC motors. You can only run one motor off of each one. You do not have to use all of the pins to control the device with arduino or esp32. R_ls and L_ls can be left with no connection. The enable pins can simply have 5v applied directly or can be switched. The only thing that might be of concern is the heat sink is on the other side of the board from the mosfets. I really don't think that they will dissipate any heat the unit heats up under high load.
J**S
funcional
es funcional y cumple con su cometido sin embargo al arranque tiene un pequeño retraso de 1 segundo
J**G
Good value
Used on a hoverboard motor and works well.
A**O
Simple
Really simple and good to use
L**.
2nd one bought
Works well. It does get hot so I'm using a small fan. Running a rad fan on one and coolant pump on the other.
Trustpilot
3 weeks ago
1 week ago